
3D Printed Fasteners: Part 1 - Inserts
August 28, 2020
Blog
In this post, we'll go over several options for adding fasteners, like nuts and inserts to your 3D design.
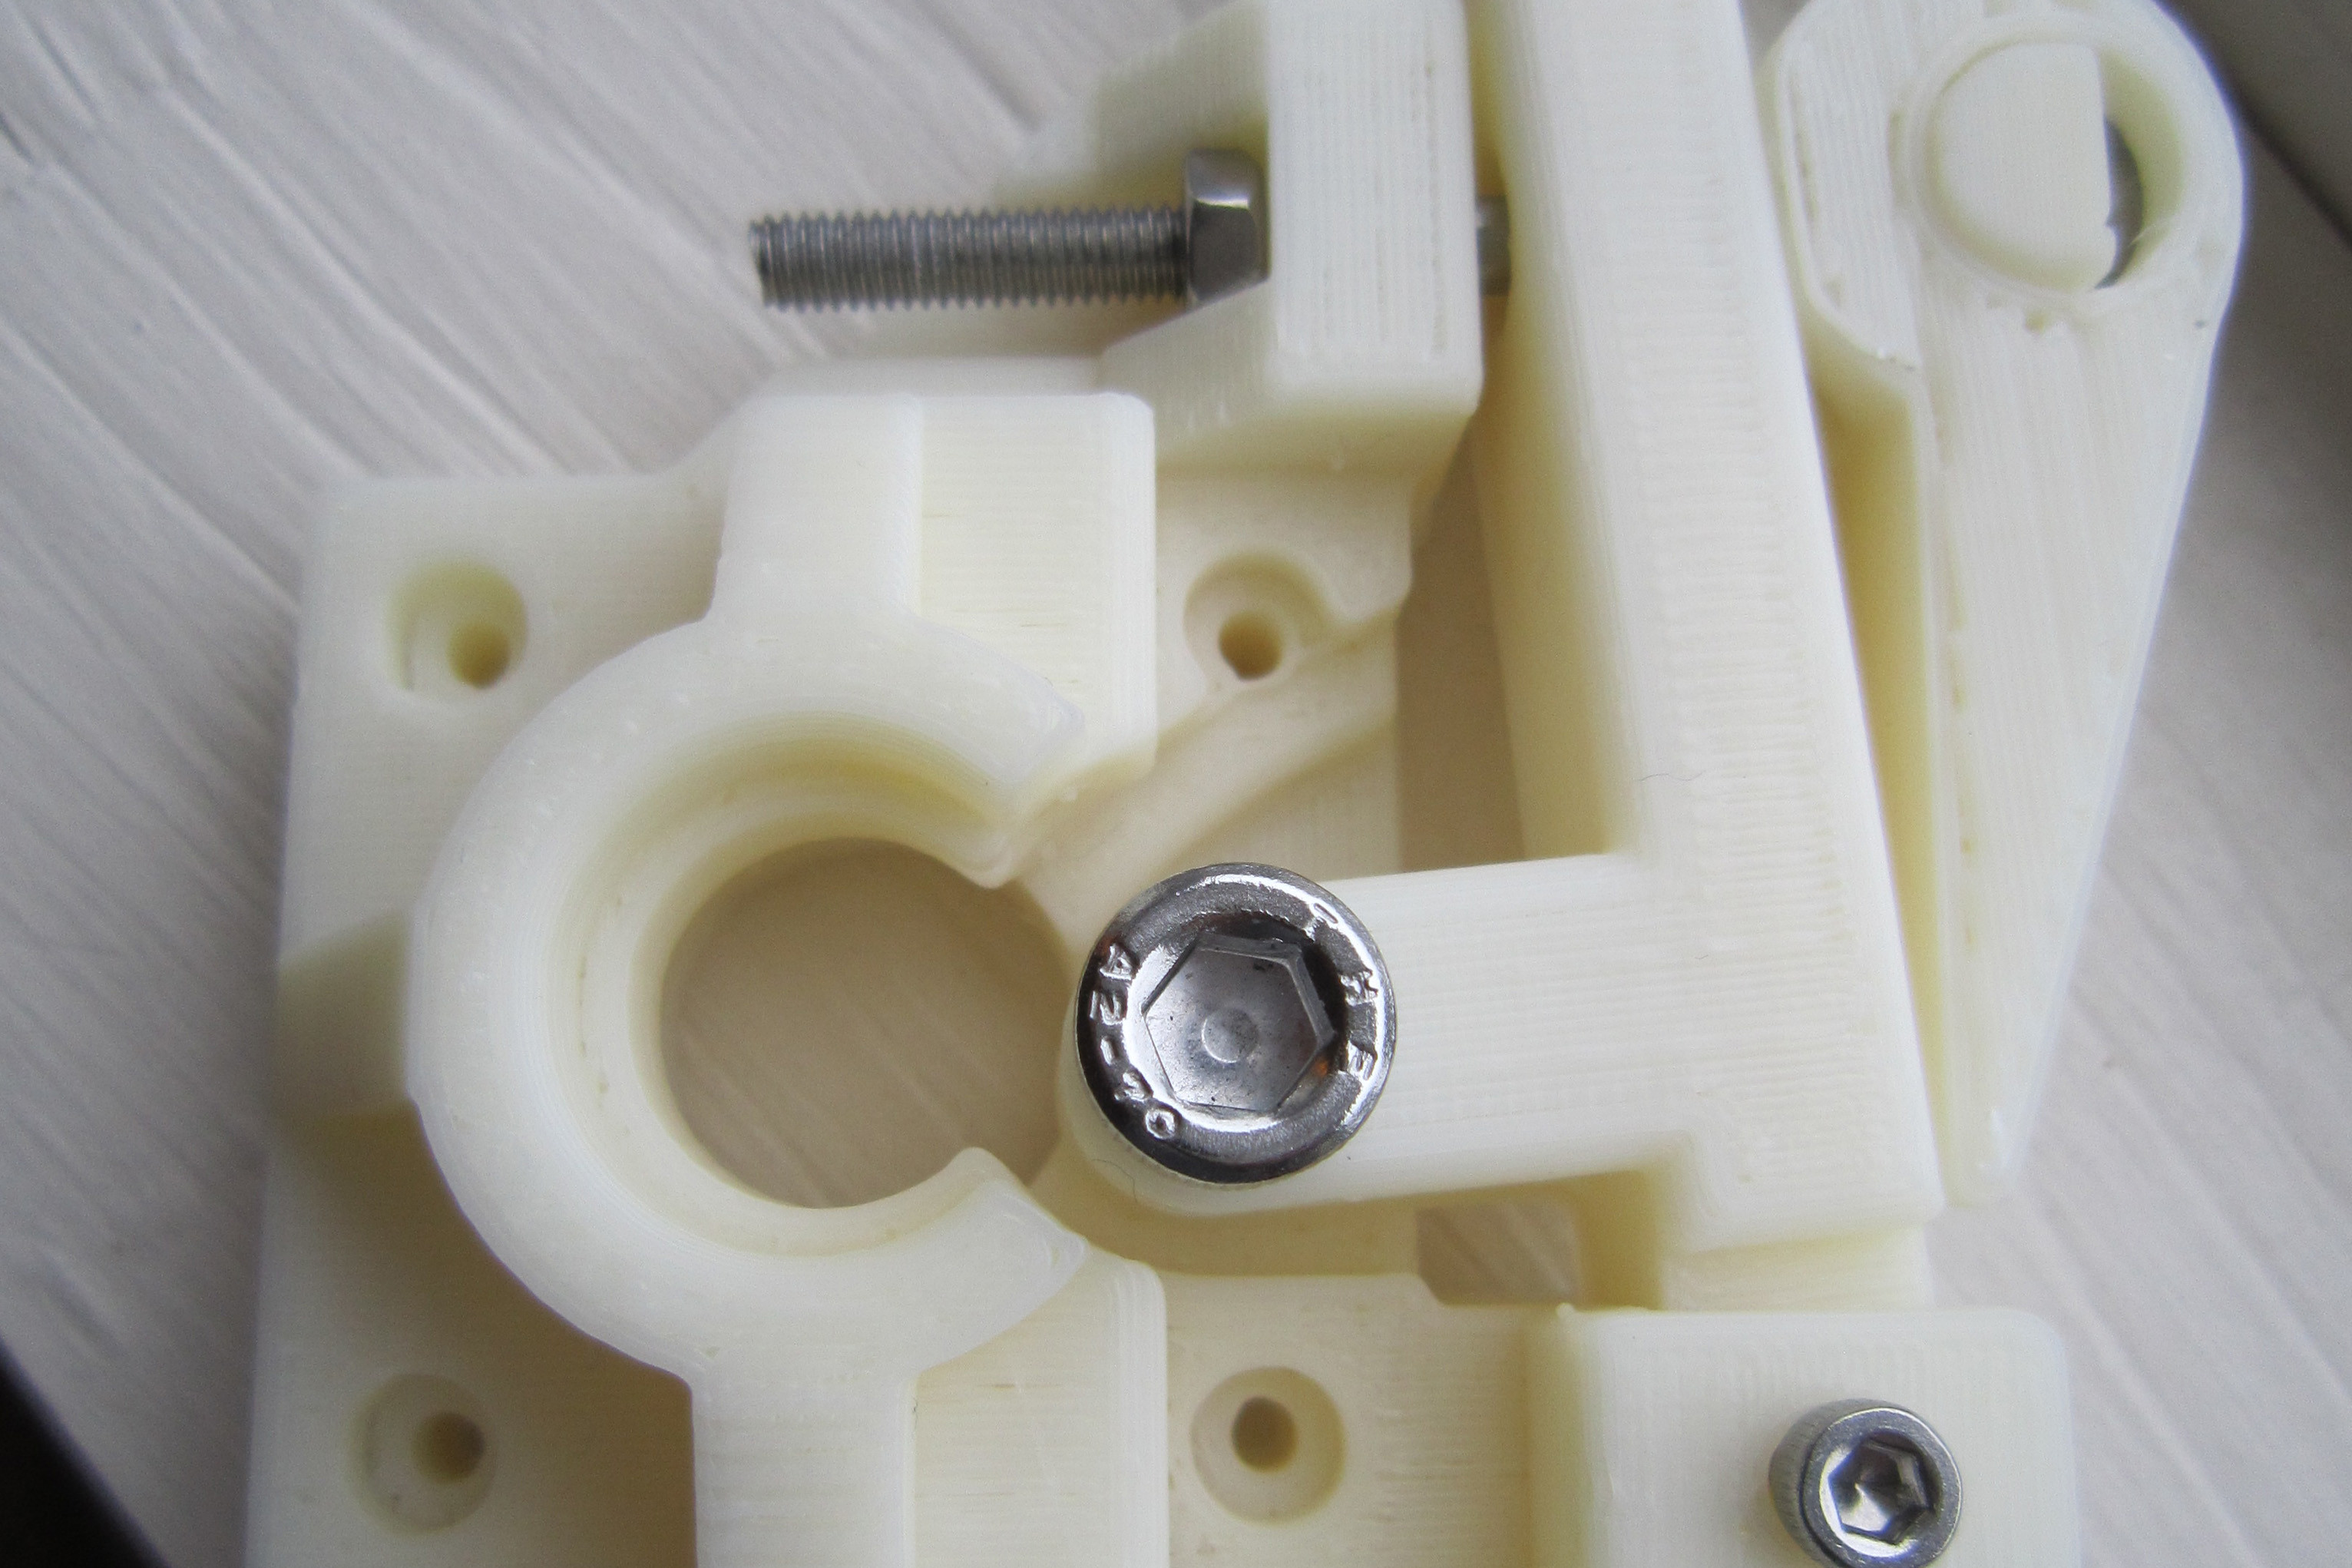
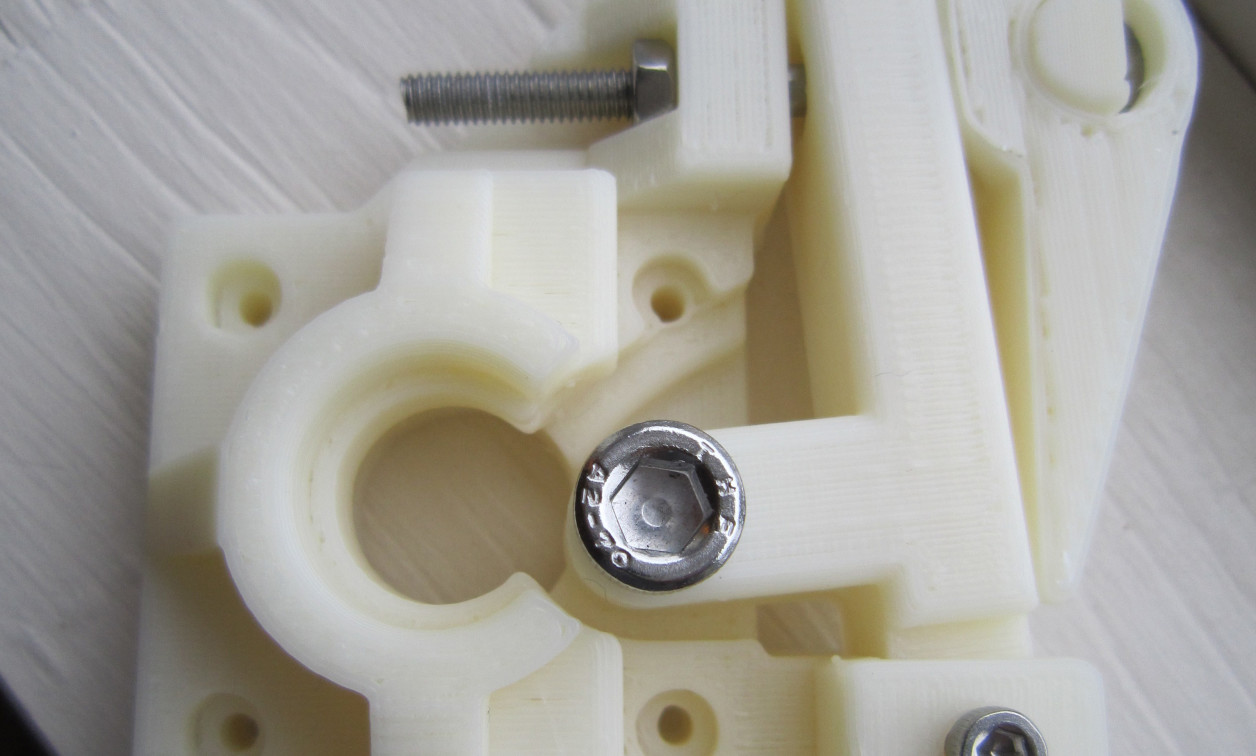
(Image Credit: syvwlch / CC BY (https://creativecommons.org/licenses/by/2.0) https://commons.wikimedia.org/wiki/File:Filament_Drive_Replacement_(5864293399).jpg)
3D-printing has revolutionized the kind of parts that can be easily made at home, but once you move from printing a “benchy” or decarative model to more useful implements, there’s a very good chance that you’ll need a way to stick two or more parts together. In this post, we’ll go over several options for adding fasteners, like nuts and inserts to your design.
Heat Set Inserts
While I haven’t actually tried this technique myself, heat set inserts seems to be the go-to 3D printing screw attachment method around the Internet. These inserts are readily available on sites like Amazon and McMaster-Carr, in the printing world, and often feature an M3 internal thread. Installation consists of printing the proper sized hole, then pressing them in with a soldering iron, optionally with a special heat-set tip.
Per the above video, an iron temp of 350°F (~175°C) works well, and one can mash the top while still hot with a flat piece of metal to align the insert with the printed surface. The printed hole diameter used is .2 inches, which works out to be roughly 5mm, between the top and bottom diameters of the insert itself. A .030” (.762mm) chamfer on the top surface helps with installation.
Helicoil or Direct Screw?
As shown in the CNC Kitchen video embedded below, a lesser-known insert technique is to use thread repair coils, commonly known as Helicoils, to reinforce a 3D-printed hole. The hole is tapped for an insert, which is then threaded into the interface with the screws directly. One can also simply print a hole slightly undersized and twist a screw in directly to form its own threads. Surprisingly, direct threading works fairly well here, as discussed in the Strength section a few paragraphs down.
Embedded Nuts
Another technique for adding fasteners to 3D-printed parts is to model in space for a nut. One can either model a slot on the side into which a nut can be dropped or model a hex shape on the bottom of the part. Both of these rely on having certain areas open for access, and one could optionally glue either in place if helpful. Of course, one can always just leave open space for a nut, allowing a wrench to be used to tighten it down.
Finally, a rather advanced printing technique is to capture a nut during the print process. The concept is explained here, and involves pausing a print at a certain height to enable one to add the nut, then restart printing to seal it in place. Setting a printer up for a pause in Cura is explained here in the context of changing colors, and one would want to be especially careful to not hit the nut with the nozzle after insertion.
Strength
The CNC Kitchen video and its companion web page do a good job of explaining the strength differences between these techniques. Interestingly, for pull-out testing there is very little difference between directly inserting a screw, using a heat-set insert, and a Helicoil when tested with an M3 screw. All of these failed at around a 120 kg load. Side pocket strength was significantly lower at around 85kg, and bottom pocket strength was better at the 160kg+ range.
Torque-out testing, however, yielded much more variability. The heat-set insert performed best at 3 Nm, followed by the bottom and side pockets. Helicoil and direct insertion fared the worst here. Given these results, unless the screws will be inserted and removed regularly causing wear over time, or aggressively tightened, inserts/Helicoils may not make much of a difference in performance.
As with anything in engineering, one technique may work better than another depending on your situation. All of that being said, I now don’t feel so bad about not using heat-set inserts, though its still on my vague list of things to try. In the second post I’ll go over some of my favorite attachment methods, which don’t involve adding extra parts to a print whatsoever!
Jeremy S. Cook is a freelance tech journalist and engineering consultant with over 10 years of factory automation experience. An avid maker and experimenter, you can follow him on Twitter [https://twitter.com/JeremySCook], or see his electromechanical exploits on the Jeremy S. Cook YouTube Channel! [https://www.youtube.com/c/jeremyscook]


.jpg)