
Raspberry Pi Power-Up and Shutdown with a Physical Button
May 28, 2020
Blog

To turn off a Raspberry Pi you don't just "pull the plug." You need to actually shut it down in the same way as a PC. To turn it back on you need to disconnect then plug it back in, which is annoying.
Unlike microcontrollers and microcontroller-based boards such as the Arduino Uno, Nano, etc., to turn off a Raspberry Pi you don’t just “pull the plug.” You need to actually shut it down in the same way you might with a Windows PC. Violent power removal obviously does work in an emergency, but can lead to a corrupted SD card that renders your Pi a paperweight until you burn a new image.
When shut down properly (or improperly), to turn it back on, you need to disconnect, then plug it back in, which is a bit annoying.
A Better Power Up/Down Solution
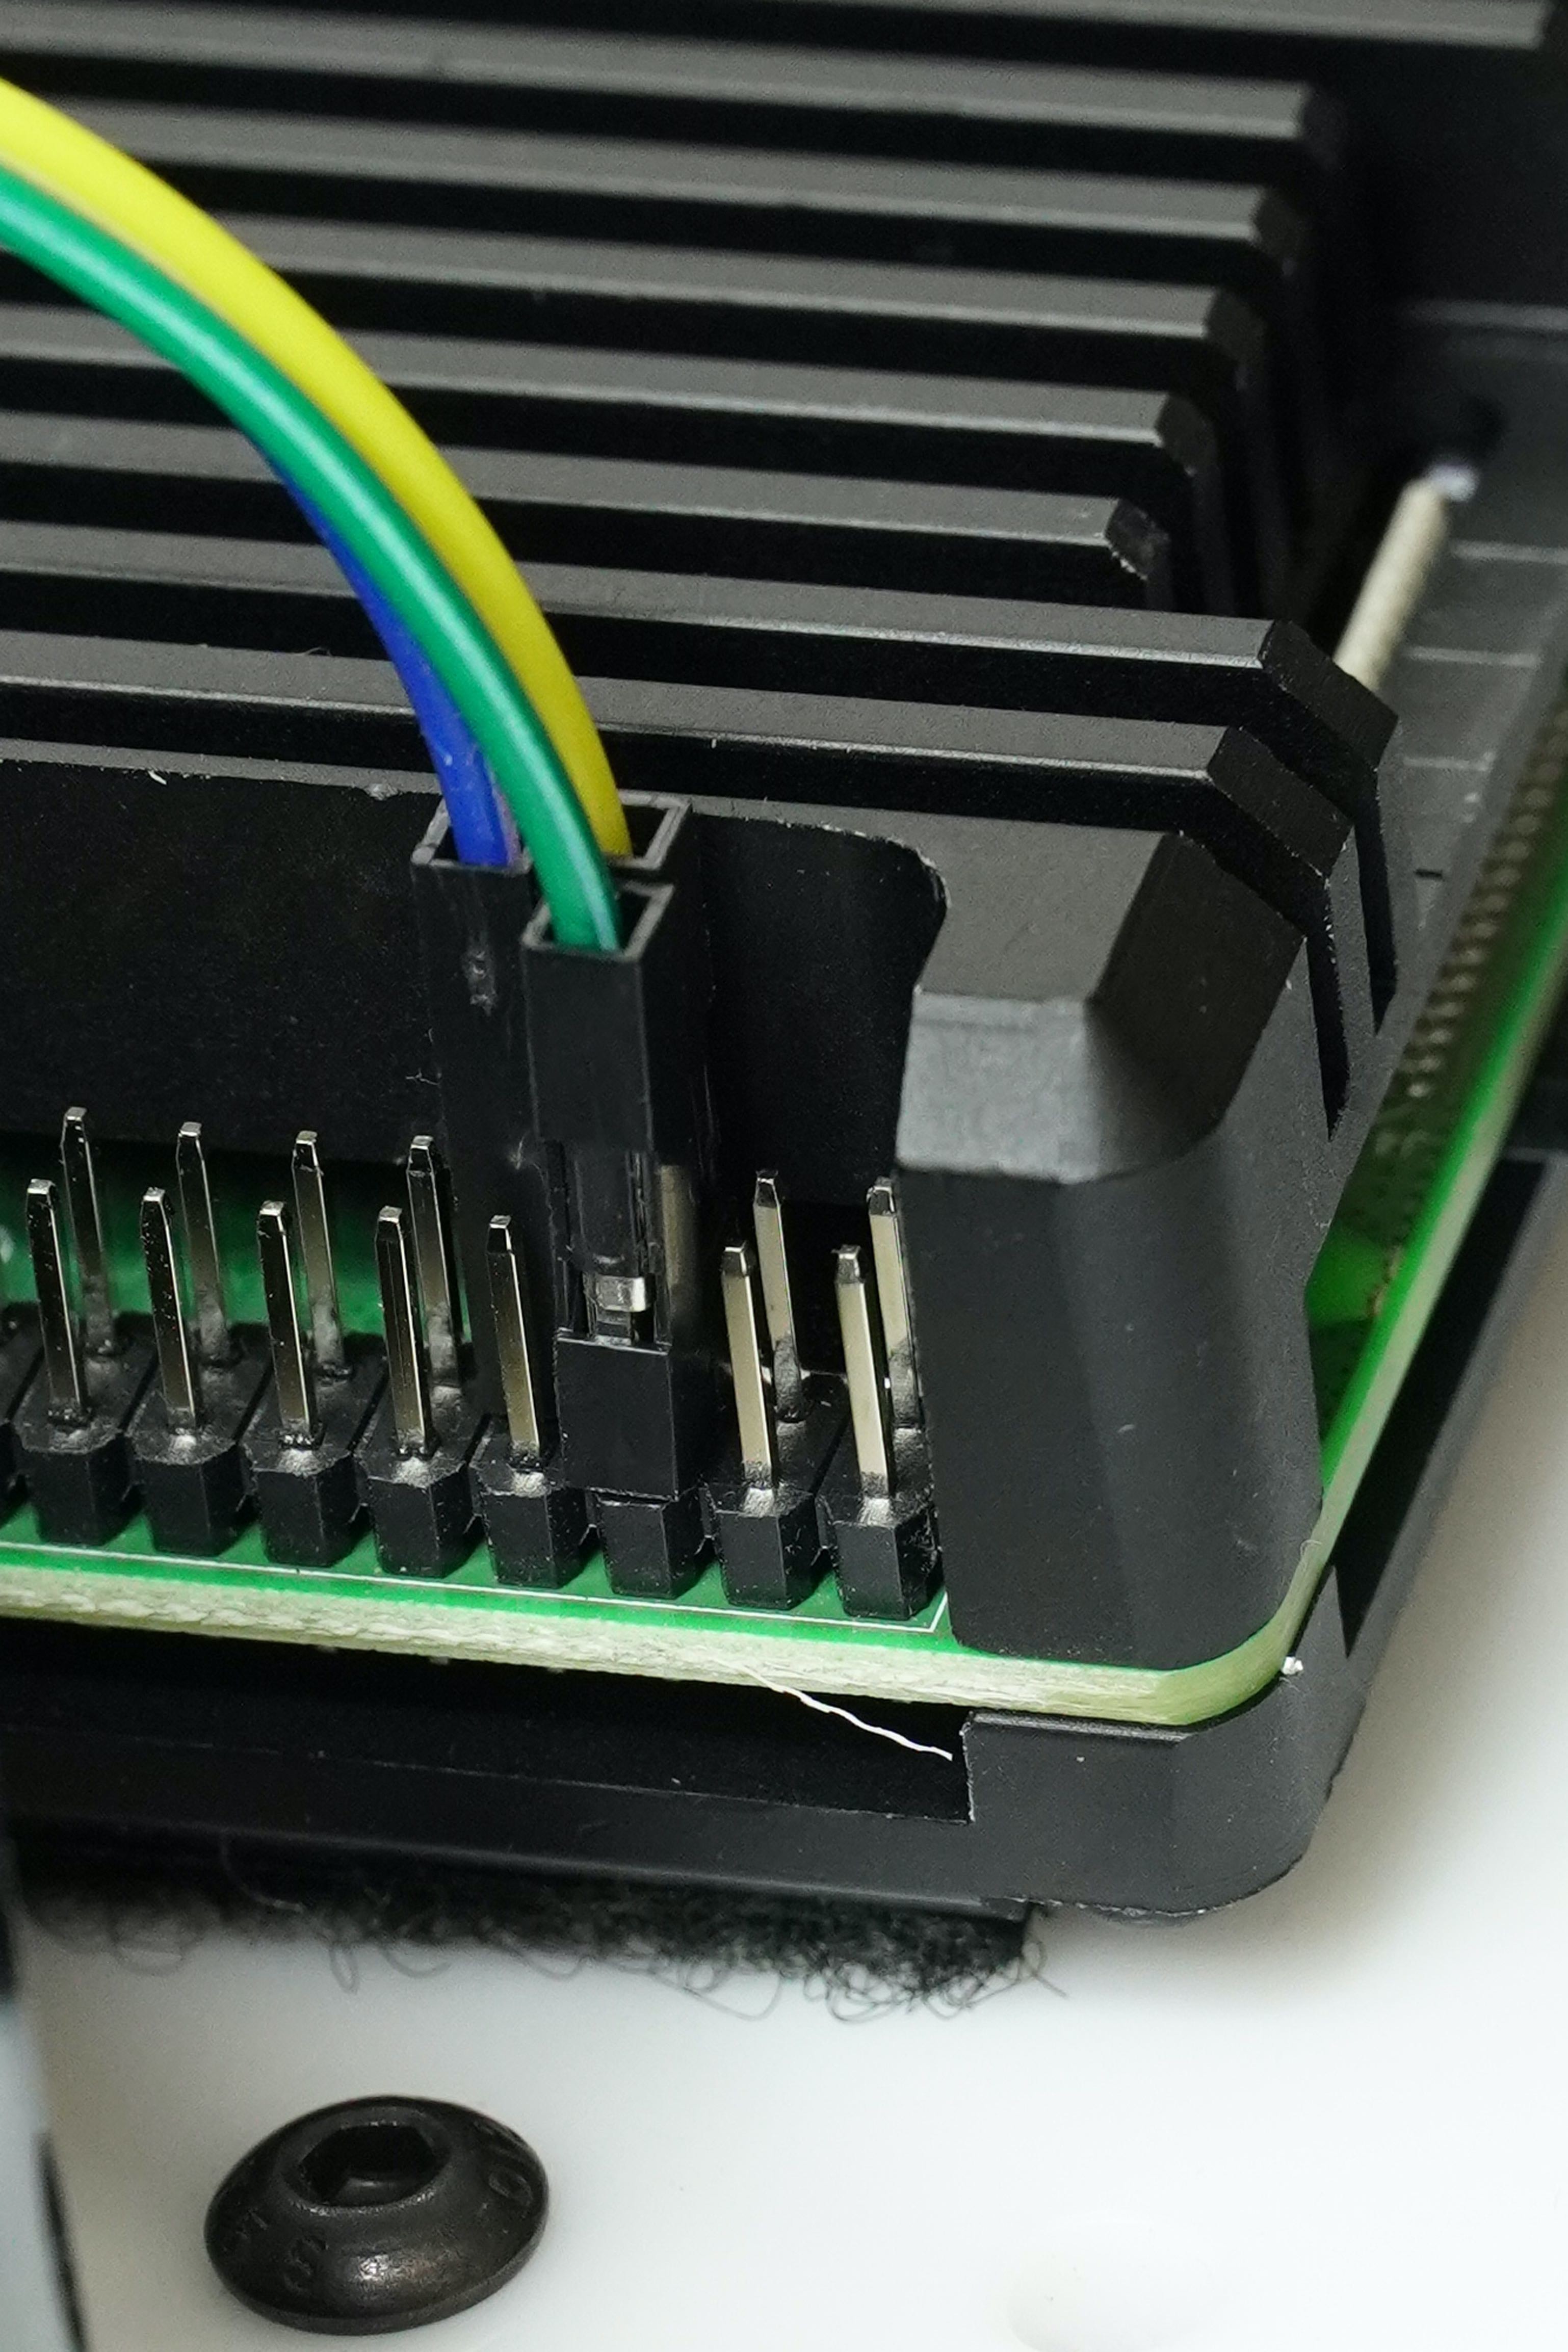
This situation was so annoying to me, that I’d considered making or buying an advanced power management solution that safely shuts down after the power switch is flipped. However, programmer Sam Pearce informed me that you can actually shut down/power up the Pi with a simple button press, taking care of ~90 percent of my problem with rather minimal effort. In fact, to power up, all that’s required is to connect physical pin 5 (BCM 3) to the ground next to it. This functionality is enabled by default.
To shut down with the same button, just add the line dtoverlay=gpio-shutdown to /boot/config.txt on your Pi. Reset it manually one more time, and after that power cycles can be handled with a simple momentary pushbutton. You’ll never have to go through the “drudgery” of navigating your mouse to the Raspberry icon and clicking on three or so buttons again!
Power Indication

So what if you need another indication that you Pi is on or off, such as when it’s running “headless?” For this purpose I added an LED across BCM pin 4 and a ground, then turned it on at startup by adding the line: @reboot raspi-gpio set 4 op dh to crontab (via the crontab -e command). There is a small delay on startup, and it potentially turns off shortly before the system is entirely dead, but it provides a nice overall indication of the device’s power status. Pearce uses BCM pin 15, with the line gpio=15=op,dh instead added to /boot/config.txt for light activation — another option if you so prefer.
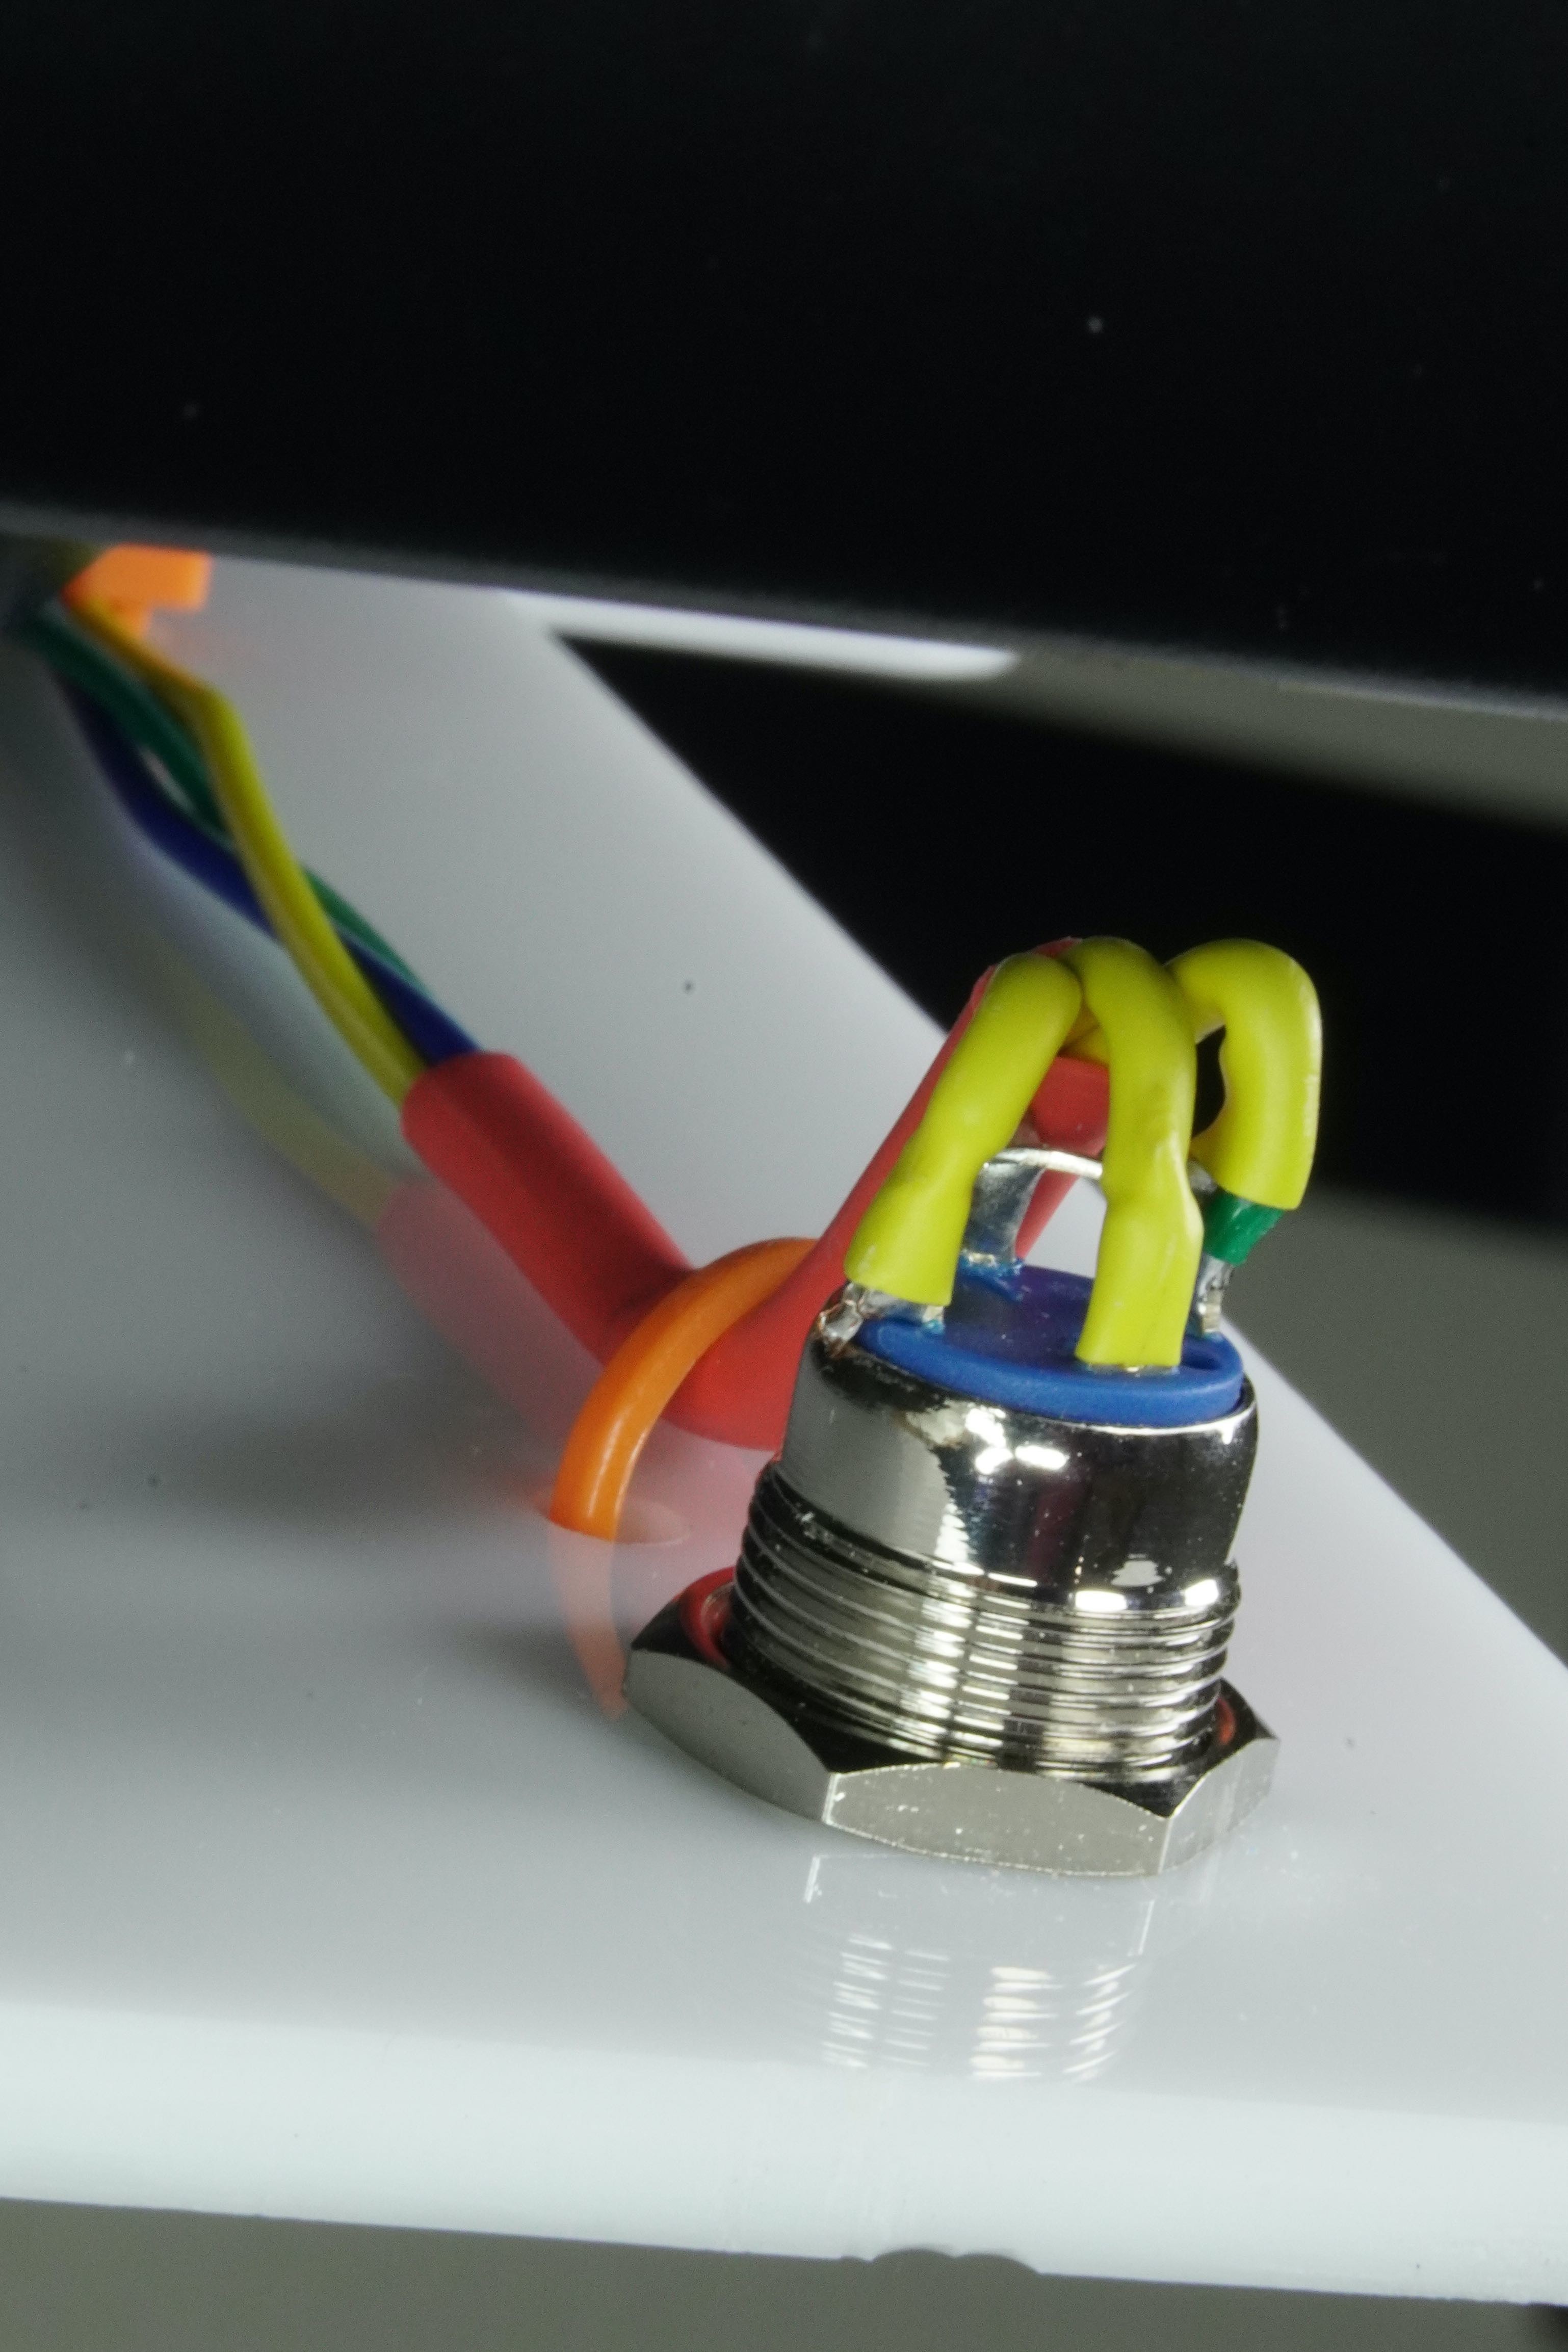
To get things into a nice tidy package, I wired both the connection and LED circuit into a metal pushbutton/12V indicator similar to this one on eBay. It works fine from the 3.3V output from the Pi GPIO, with the ground line for both the button and LED tied together at the button connectors. While perhaps unnecessary for my particular application, it looks great and definitely makes cycling power easier.
Phantom Power-Up?
After implementing this solution for a few days, I noticed my Pi would power on occasionally for obvious reason. It’s plausible that the Pi’s power is somehow dropping out intermittently, causing pin 5 to go low and cause a reset. To combat this potential issue, I installed a 2200µF capacitor across 5V and ground. So far the issue hasn’t happened again, but the fix(?) has only been implemented for a short time.
Other Considerations
The Pi does draw about 70mA when “off,” so if you’re running on a battery, or trying to reduce the amount of power you use to the absolute minimum, you’ll still want some sort of external electrical power switch. Consider, however, that this idle power draw works out to be 5Vx.07A = .35W. Multiplying by 2555 hours in a year, gives you 894 watt-hours total draw per year, or .89 kilowatt-hours. At at an average US price of electricity of around 10 cents per kilowatt-hour, we’re talking about less than a dime to keep your Pi in an idle state all year. Also, DC power lines (5V and 3.3V) stay active when off, which could be a good or bad thing depending on your setup.
All things considered though, for embedded Pi applications where it’s not always convenient to have a keyboard, or when you just want to be able to easily power cycle your device, a simple button and a tiny bit of setup could be the perfect solution!
Jeremy S. Cook is a freelance tech journalist and engineering consultant with over 10 years of factory automation experience. An avid maker and experimenter, you can follow him on Twitter [https://twitter.com/JeremySCook], or see his electromechanical exploits on the Jeremy S. Cook YouTube Channel! [https://www.youtube.com/c/jeremyscook]


