
Raspberry Pi Connect
March 19, 2020
Blog
The real power of Raspberry Pi systems isn't for replacing your desktop, but as a system that can be embedded anywhere.
Remotely Access Your Raspberry Pi via SSH

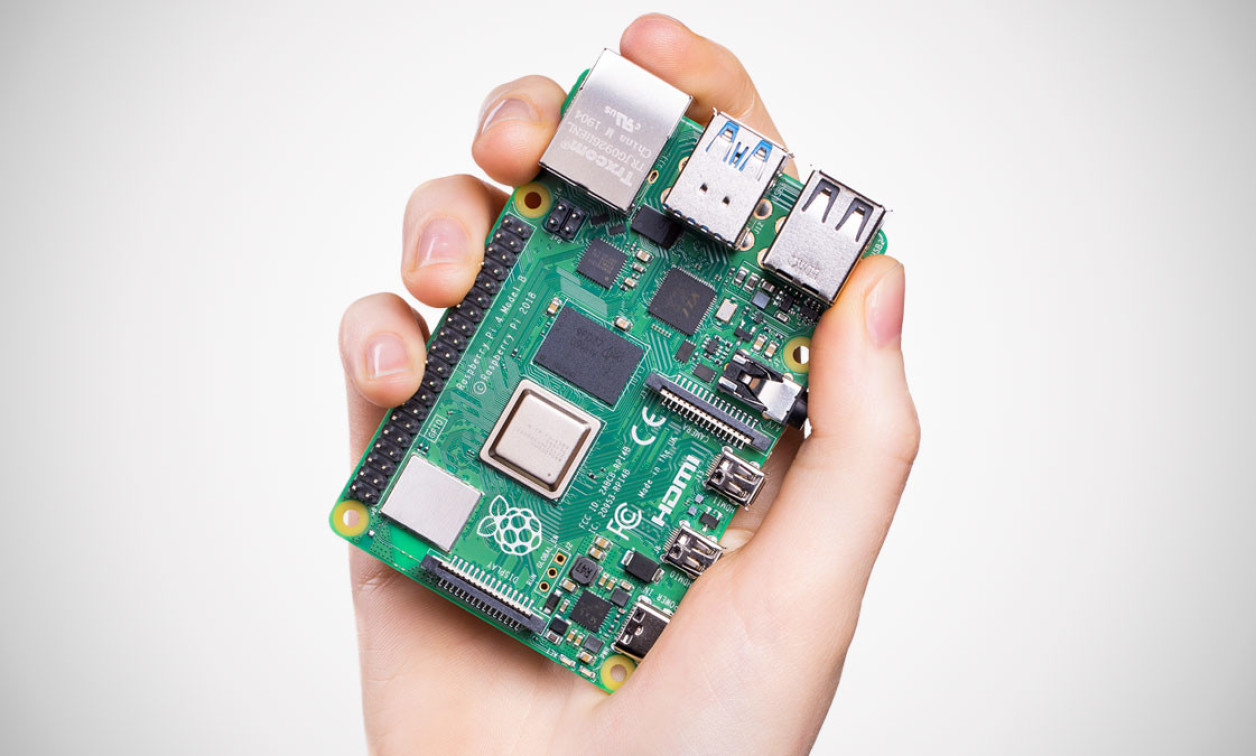
Image Credit: https://www.raspberrypi.org/ / CC BY-SA (https://creativecommons.org/licenses/by-sa/4.0) via Wikimedia Commons: https://commons.wikimedia.org/wiki/File:Raspberry_Pi_4.jpg
If you bought a Raspberry Pi computer, you probably first installed NOOBS/Raspbian and tried it out as a relatively simple desktop. This is all well and good of course, but the real power of Raspberry Pi systems isn’t for replacing your desktop, but as a system that can be embedded anywhere. Perhaps this means using it as an inexpensive network-attached storage (NAS) solution, as a gaming device, or even a controller for anything from irrigation equipment to a 3D printer. Whatever the application, dragging a keyboard and monitor to this remote location and connecting everything is inconvenient at best.
Fortunately, there is a solution, called SSH, or secure shell.
Enable SSH

Image Credit: Jeremy S. Cook - screenshot
First, you’ll need to setup wireless or wired networking on your Pi, which we’ll assume you did during installation. You’ll then need to enable SSH, as Raspberry Pi boards have it turned off by default for security reasons. In the Raspbian GUI, there’s a configuration option to turn this on, or in the command prompt you can enter sudo raspi-config, then navigate to Interfacing Options and select SSH, then
This, however, requires you to actually be connected with a keyboard and monitor to the computer, a sort of chicken/egg problem in some cases. Alternatively, as explained here, you can put a file called ssh in your SD card’s /boot/ directory and set up WiFi without dragging other “tools” out.
Find the Pi
Even if your Pi is theoretically on the network, you’ll need to know its IP address. One easy method is to use an IP scanner—I use this one—to search through your network. You can then see what pops up that has “Raspberry Pi” in the name to figure out where to connect. If you’re already connected via SSH or an actual screen, type in ifconfig to show the IP address, plus a lot of other info.
Log On

Image Credit: Jeremy S. Cook - screenshot
To remotely log on to your Pi, you’ll need a remote SSH client. PuTTY seems to be something of the de facto standard for Pi use and, like the rest of what’s outlined here, it’s pretty easy to use once you get your process down. Open it up and input your Pi’s IP address, selecting SSH as the connection type. Hit Open, and you’ll be presented with a remote terminal into your machine, where you can log in with your username and password. This defaults to pi for the username, with raspberry as the password.
Change Password
With SSH Enabled, you’ll want to change your password and possibly username from the defaults to something more creative as soon as possible. Enter the passwd command, follow the instructions, and you’ll put one more step between swarms of botnets and your device.
Static IP

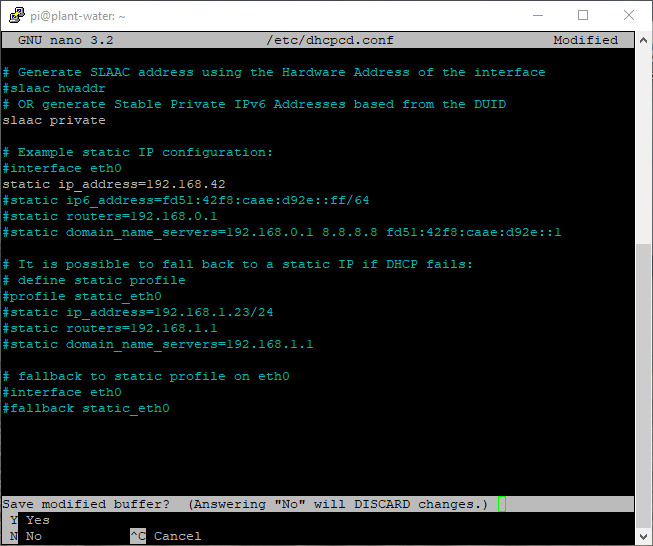
A simple change will keep your Pi in one place IP address-wise
Image Credit: Jeremy S. Cook - screenshot
If you don’t want to have to bother with finding an IP address on your Pi via a scanner or physically connecting, you can instead set up a static IP address by entering sudo nano /etc/dhcpcd.conf. Uncomment the line (take “#” out) that says: #static ip_address=192.168.0.10/24 and change it the numbering to the IP address of your choice. I’d suggest keeping the first 3 sets of numbers the same as what your scanner shows, and setting the last number somewhere separated from other numbers in the sequence. Press ctrl+x to exit, then y, and finally enter to save. Reset with sudo reboot to allow the changes to take effect.
Conclusion
While connecting this way is simple once you get the hang of it, there are a few subtle points that took me way too long to figure out. Using a network scanner is especially helpful, as you can see what’s on your network—Pi or not—without having to hook a computer up to your device. Even once you have a static IP address assigned, it can be a great tool to have in your back pocket.
Jeremy S. Cook is a freelance tech journalist and engineering consultant with over 10 years of factory automation experience. An avid maker and experimenter, you can follow him on Twitter [https://twitter.com/JeremySCook], or see his electromechanical exploits on the Jeremy S. Cook YouTube Channel! [https://www.youtube.com/c/jeremyscook]


