
Maker Pro: Supercapacitors Demystified, Part 2: Hands-On Experimentation
October 01, 2019
Blog

In this article, I?ll go over a sort of ?hello world? experiment for using supercapacitors to light up an LED for 30 minutes or so.
In part 1 of this series, I gave an introduction to these still somewhat exotic components and explained how they’re different from traditional capacitors. Long story short, while they’re generally rated much higher in terms of Farads than normal caps, their rated voltage levels are also much lower. Because of this, the primary danger when dealing with these components is typically excessive heat rather than shock per se. In this article, I’ll go over a sort of “hello world” experiment for using supercapacitors to light up an LED for 30 minutes or so.
Super Light
For my little experiment, I obtained the following components:
- 5.5V supercap with 1.0F capacity: stores 5 coulombs (or 5 amp * seconds) of charge at 5V
- A breakout board for a USB-A plug: sources 5V power
- 10mm Red LED
- ~12-ohm resistor
- ~200-ohm resistor
- Wire, heat shrink
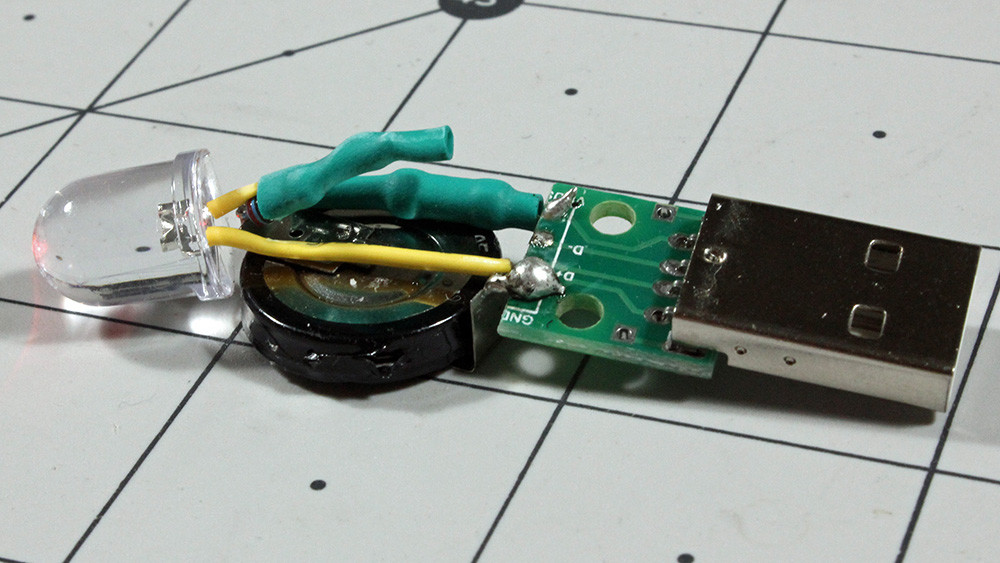
5.5V from the breakout was fed to the supercap, and I added the 12-ohm resistor in-line with the positive connection in order to prevent excessive current from rushing into the device. This may not have been needed, and would cause some loss due to heat, but seemed like a good precaution so as not to have excessive current rushing in.
I also attached the positive and ground leads of the LED to the supercapacitor, this time with the 200-ohm resistor in between the positive lead and the LED. Several pieces of heat-shrink finished the build off, which worked to avert any potential shorts in the system, and for protection.
Results
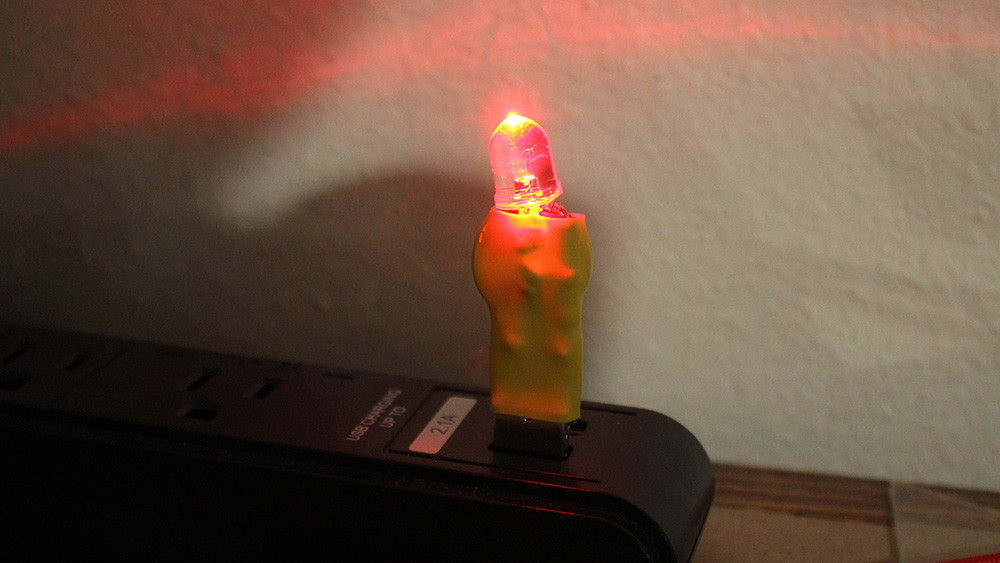
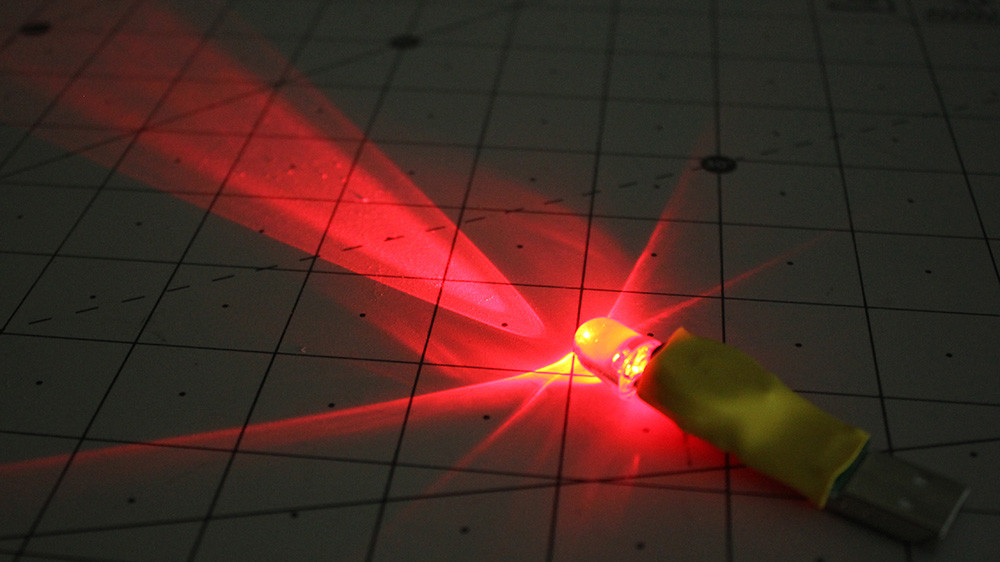
While this lighting and resistor setup is by no means ideal, it did work, shining nicely when plugged in, and for about 30 minutes afterwards. It seems to take somewhere around 20 seconds to get to the point where it shines brightly for a significant time after being unplugged, and you can see it in action in this short video clip where I unplug it somewhat prematurely. This would make sense, as at a 12-ohm input resistance and 5V, this would give an initial input current of around .4 amps. The supercapacitor itself would add a bit of resistance, making this lower, and as the capacitor gets charged, this voltage difference will drop off, so there are several factors going on here.
Regardless, after being plugged in for well under a minute, the LED shines brightly enough to be noticeable for around 30 minutes, becoming less useful as this time goes on. A very faint light is visible for quite some time.
One aspect that’s illustrated nicely here is that capacitor voltage drops linearly with charge, corresponding to the light level. This is different than battery technology, which tends to maintain a rather constant voltage level until they die and drop off quickly, voltage-wise. This can make supercapacitors harder to use, though a boost converter could be implemented to keep things constant and is probably the next step if I pursue this experiment further.
Time for Supercaps in Your Next Project?
This charge linearity is one of the reasons that supercapacitors haven’t taken over for batteries in many cases. The more important factor though, is that batteries have far higher energy density both in size and cost, though supercaps have a significant advantage when it comes to maximum discharge rate and the number of charge/discharge cycles that they can endure.
While not appropriate everywhere, supercapacitors represent a good option for many projects. If you want a hands-on intro to the tech, using it as I’ve shown here could be a good option, though definitely consider it more of an experiment than a refined project. If you try it yourself, I’d plug it into something non-critical instead of risking your computer’s USB port.
Jeremy S. Cook is a freelance tech journalist and engineering consultant with over 10 years of factory automation experience. An avid maker and experimenter, you can follow him on Twitter or see his electromechanical exploits on the Jeremy S. Cook YouTube Channel!


