For the Professional Maker: 3D-Printing, Ready for Your Prototyping Needs
August 23, 2018
Blog

As an engineer who graduated knowing how to use a mill and lathe, I?ve mostly viewed this technology as a curiosity with potential to be an amazing tool sometime far in the future.
As an engineer who graduated knowing how to use a mill and lathe—but having only extremely limited experience with 3D-printing—I’ve mostly viewed this technology as a curiosity with potential to be an amazing tool sometime far in the future. After using one at home for the past few months, I’d have to say that future is now… if you understand the technology’s limitations.
Why You Need a Printer
If you’ve been trained in subtractive manufacturing, which includes processes from a table saw to a CNC mill, there are certain features you avoid because they can’t easily be made. For instance, internal sharp corners are to be avoided in a milling operation as a rotary tool produces a radius. Flowing lines and 3-dimensional curves are also generally out of each for all being the most capable machines and CNC programmers, so are avoided unless absolutely necessary.
The kind of multi-axis machines that are capable of complicated 3D shapes can cost 10s or 100s of thousands of dollars, a 3D-printer that can easily make the same complicated curves, along with otherwise non-manufacturable internal features that can be had for around $200. Like any machine, you often get what you pay for—some do cost thousands of dollars—but even the very low-end model that I’ve been using for the past few months works admirably.
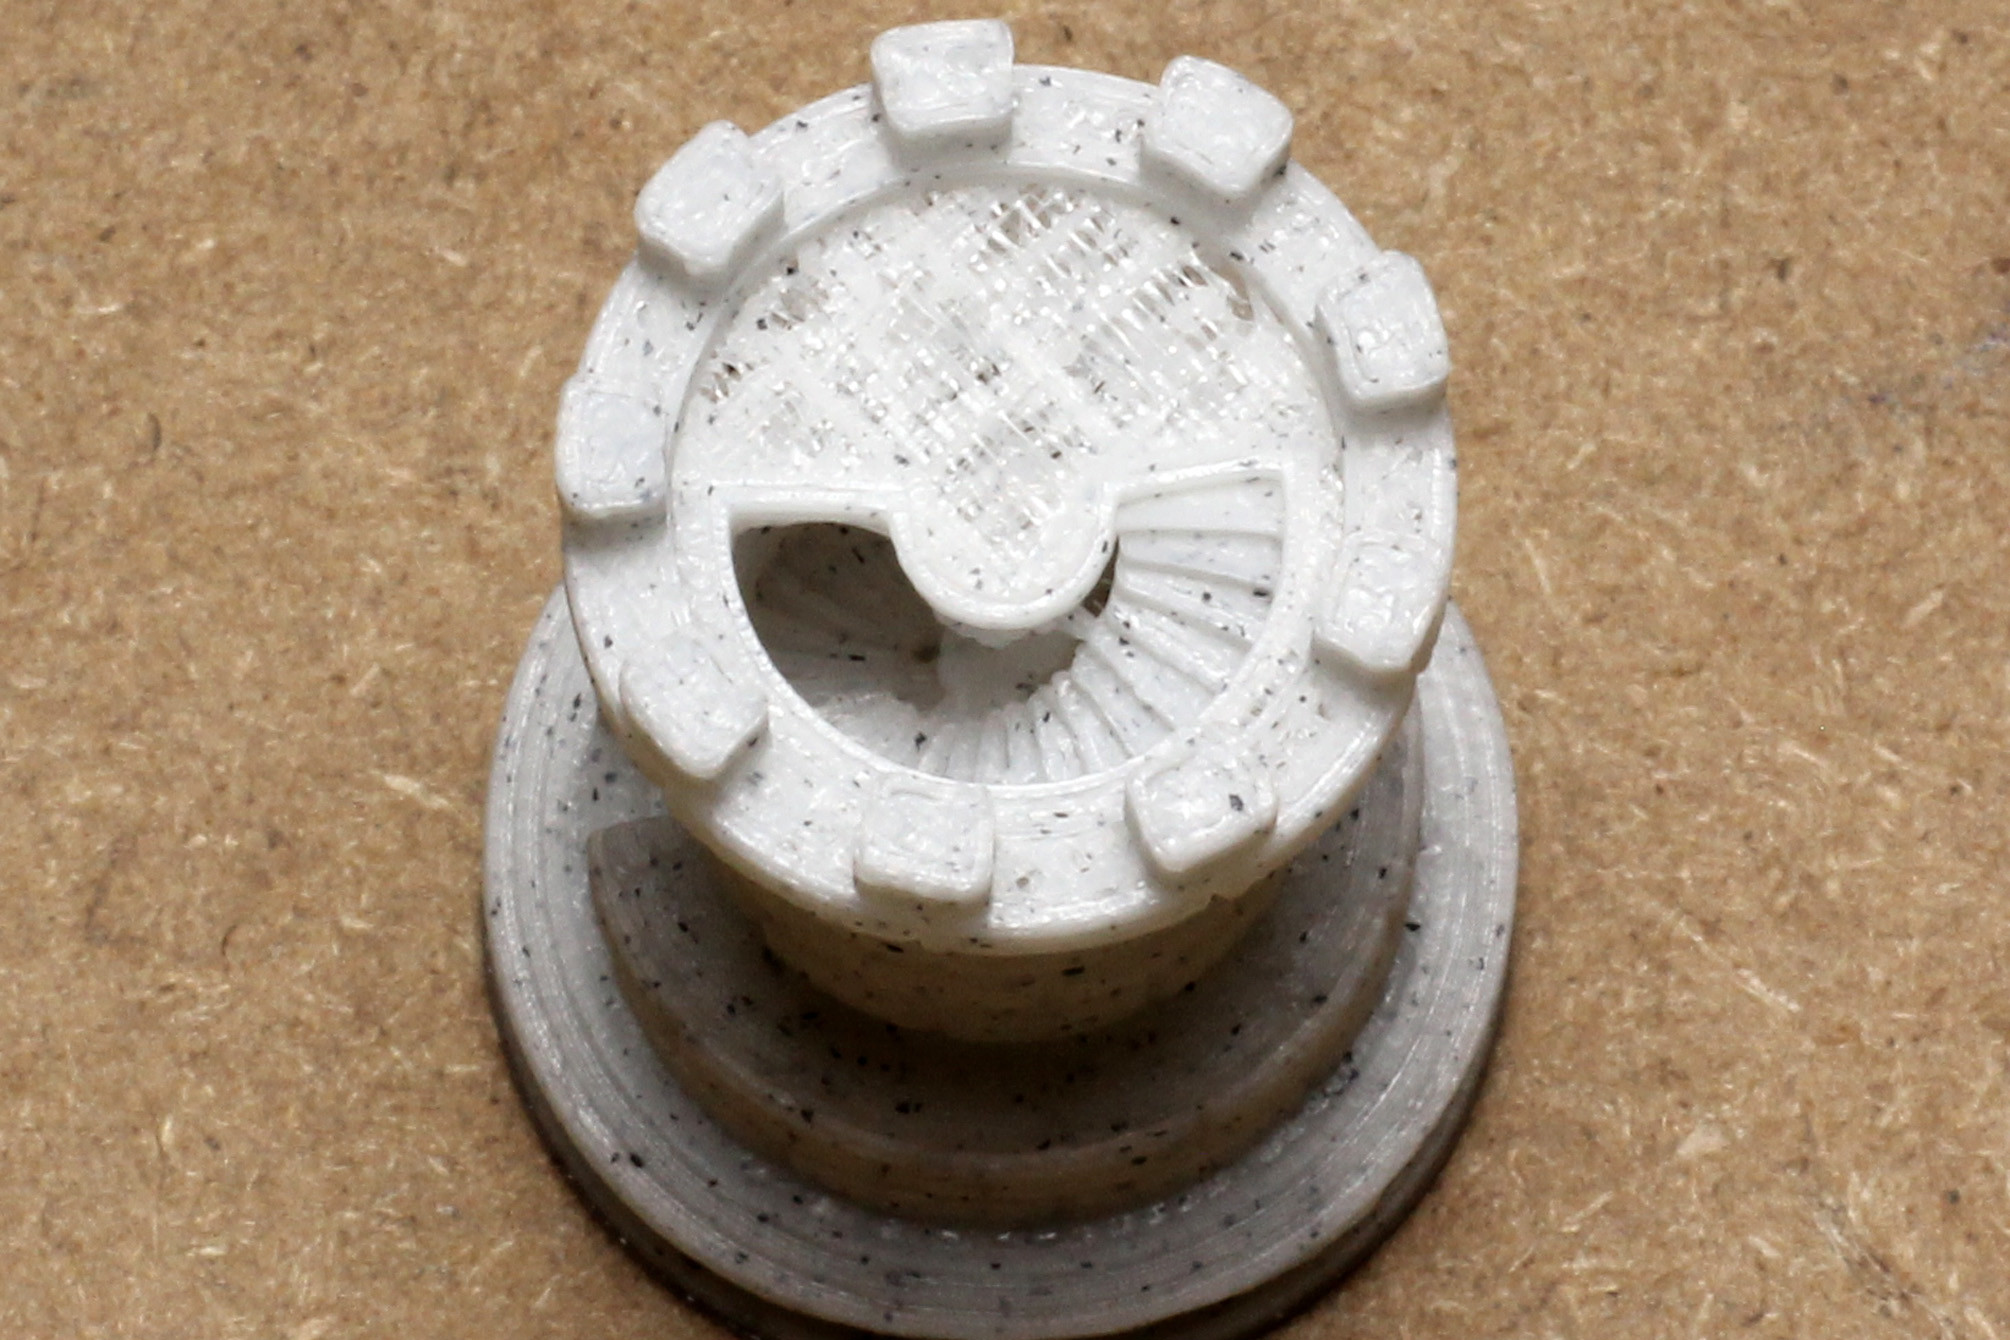
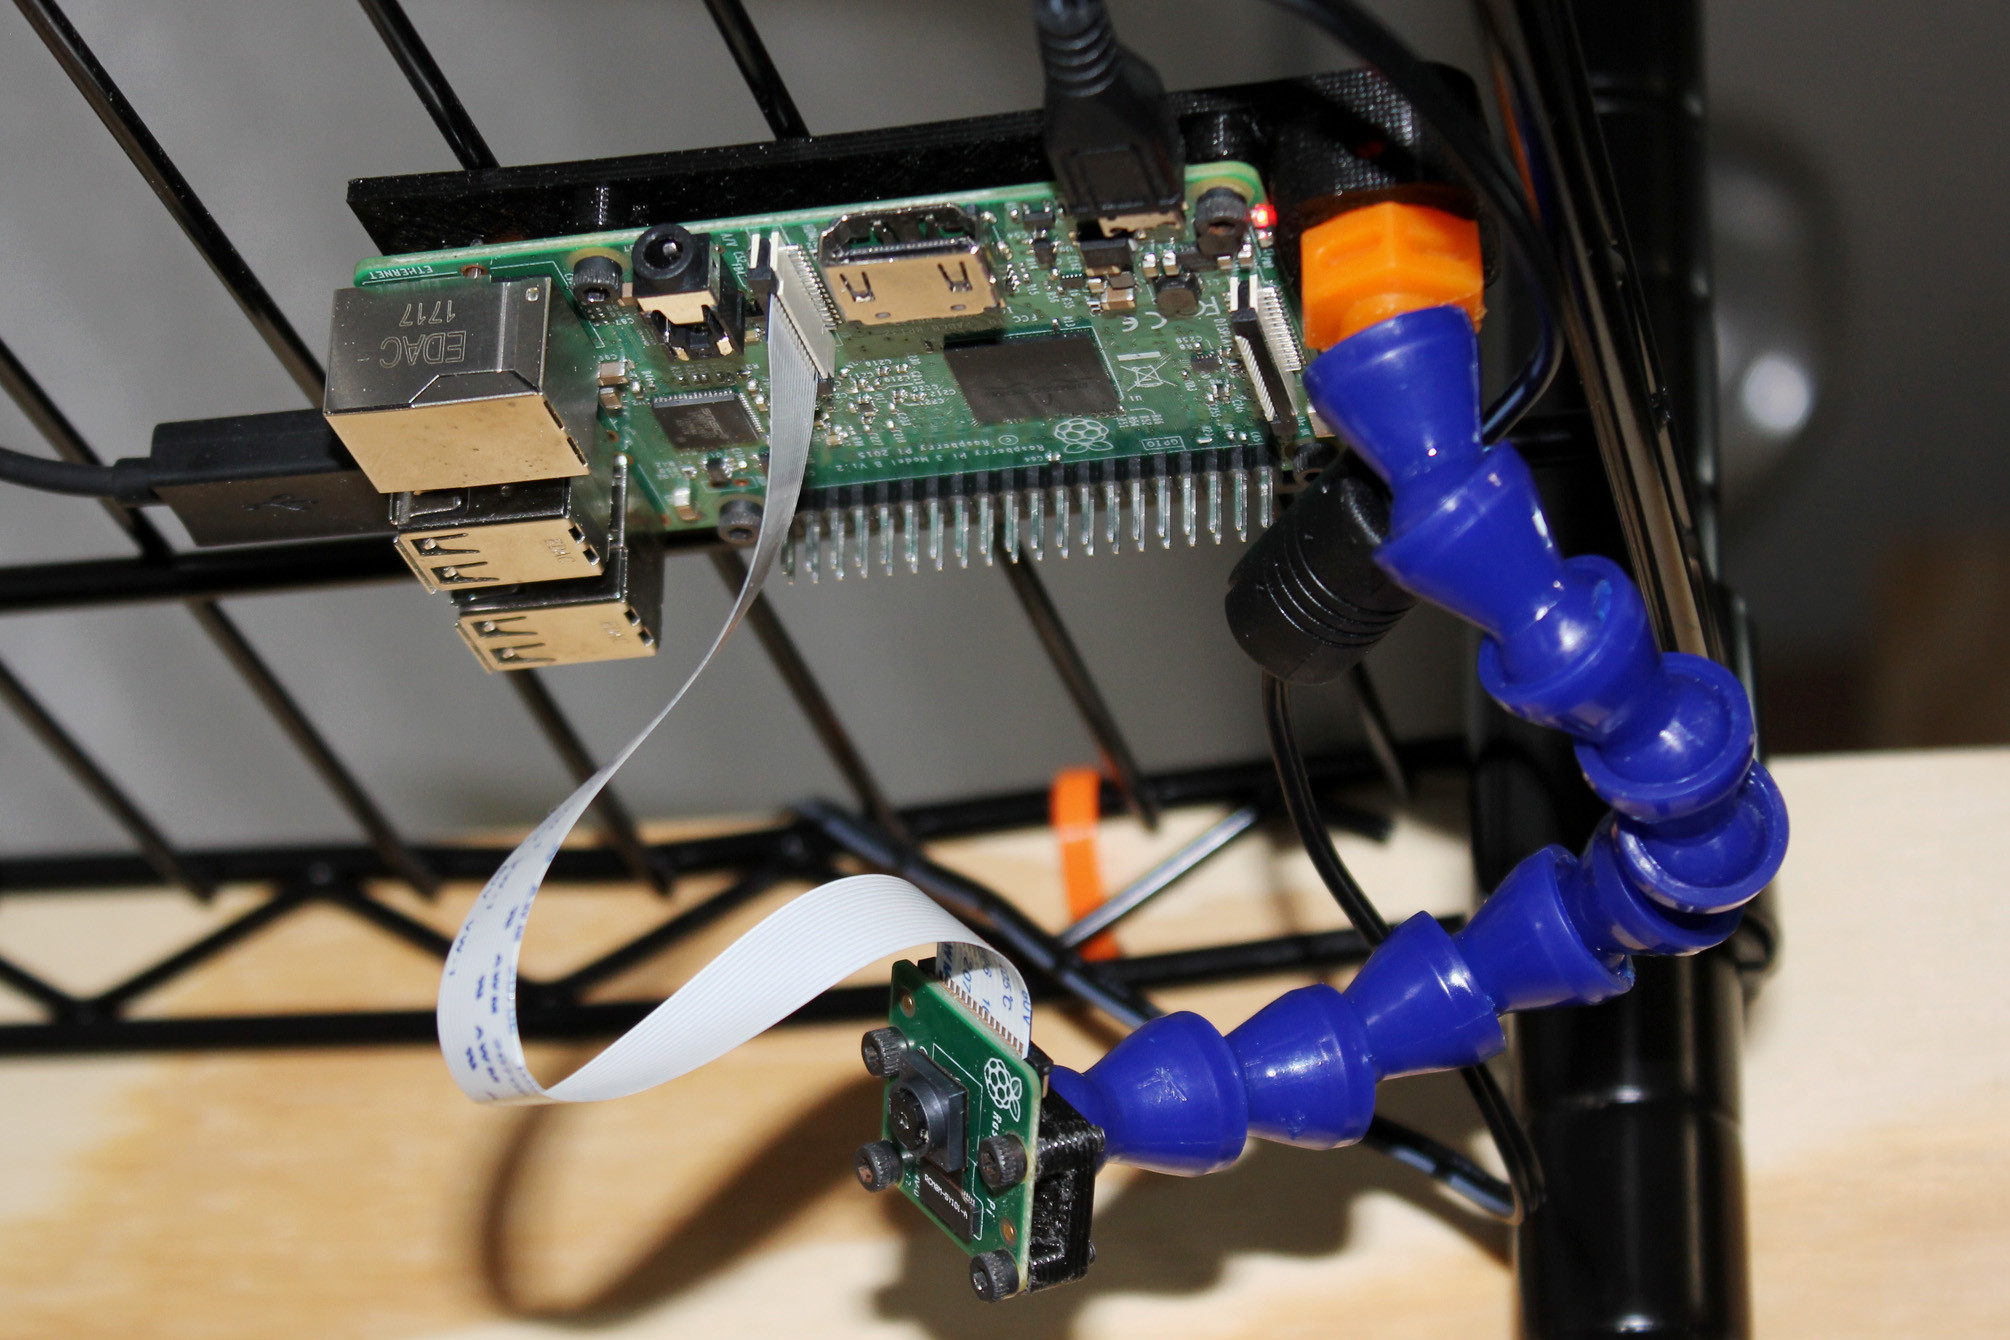
Once your machine is set up, you literally load the program and walk away. A few hours later, your part is produced out of formed plastic. The most useful scenario both for hobbyists and professionals is being able to model a prototype, then have it pop out without having to deal with a machine shop or excessive fiddling with your manual or CNC tools. Additionally, there are a vast number of ready-made print files for you to download on sites such as Thingiverse that you can download and use immediately.
Limitations
This kind of design freedom at a fraction of the price of CNC machinery doesn’t come without some drawbacks. The most obvious is that consumer-level printers print using plastic and other low melting-point materials. While there are printers that are capable of metal printing, the price for these units can reach well into the 100s of thousands of dollars. Additionally, while the precision of consumer-level printers is good, don’t expect the same kind of tolerances that can be held by capable subtractive machines and competent machinists.
Speed can also be a concern in additive manufacturing. While subtractive methods might produce a part within a few minutes, 3D-prints often take several hours, and prints that take over 24 hours aren’t unheard of. On the other hand, once you load the files and start the print, you normally won’t have to think about it while printing, and multiple printers can be used in tandem as a “printer farm.” Even so, if you need to make many thousands of copies of something, 3D-printing, and likely even CNC machining, isn’t usually the answer.
Conclusion
Like anything else, a 3D-printer is a tool. For the price though, if you need to make small prototypes out of plastic it’s tough to beat what you get with one. As this technology advances, we may even begin to see traditional machine tools fade into the background, though for the time being it seems there is very much a need for both.
Below is an unboxing video of the printer that I bought to explore the technology. Considering the roughly $200 price tag, I’ve been extremely impressed with it. If you’ve been hesitant to try out this technology, something like this can be a great introduction:
Jeremy S. Cook is a freelance tech journalist and engineering consultant with over 10 years of factory automation experience. An avid maker and experimenter, you can see some his electromechanical exploits on the Jeremy Cook’s Projects YouTube Channel!