
Intro to Raspberry Pi Bash Shell Scripting
June 24, 2020
Blog

Getting started with Raspberry Pi single-board computers (SBCs) generally means installing the Raspberry Pi OS, and interfacing with its Windows-like graphical user environment.
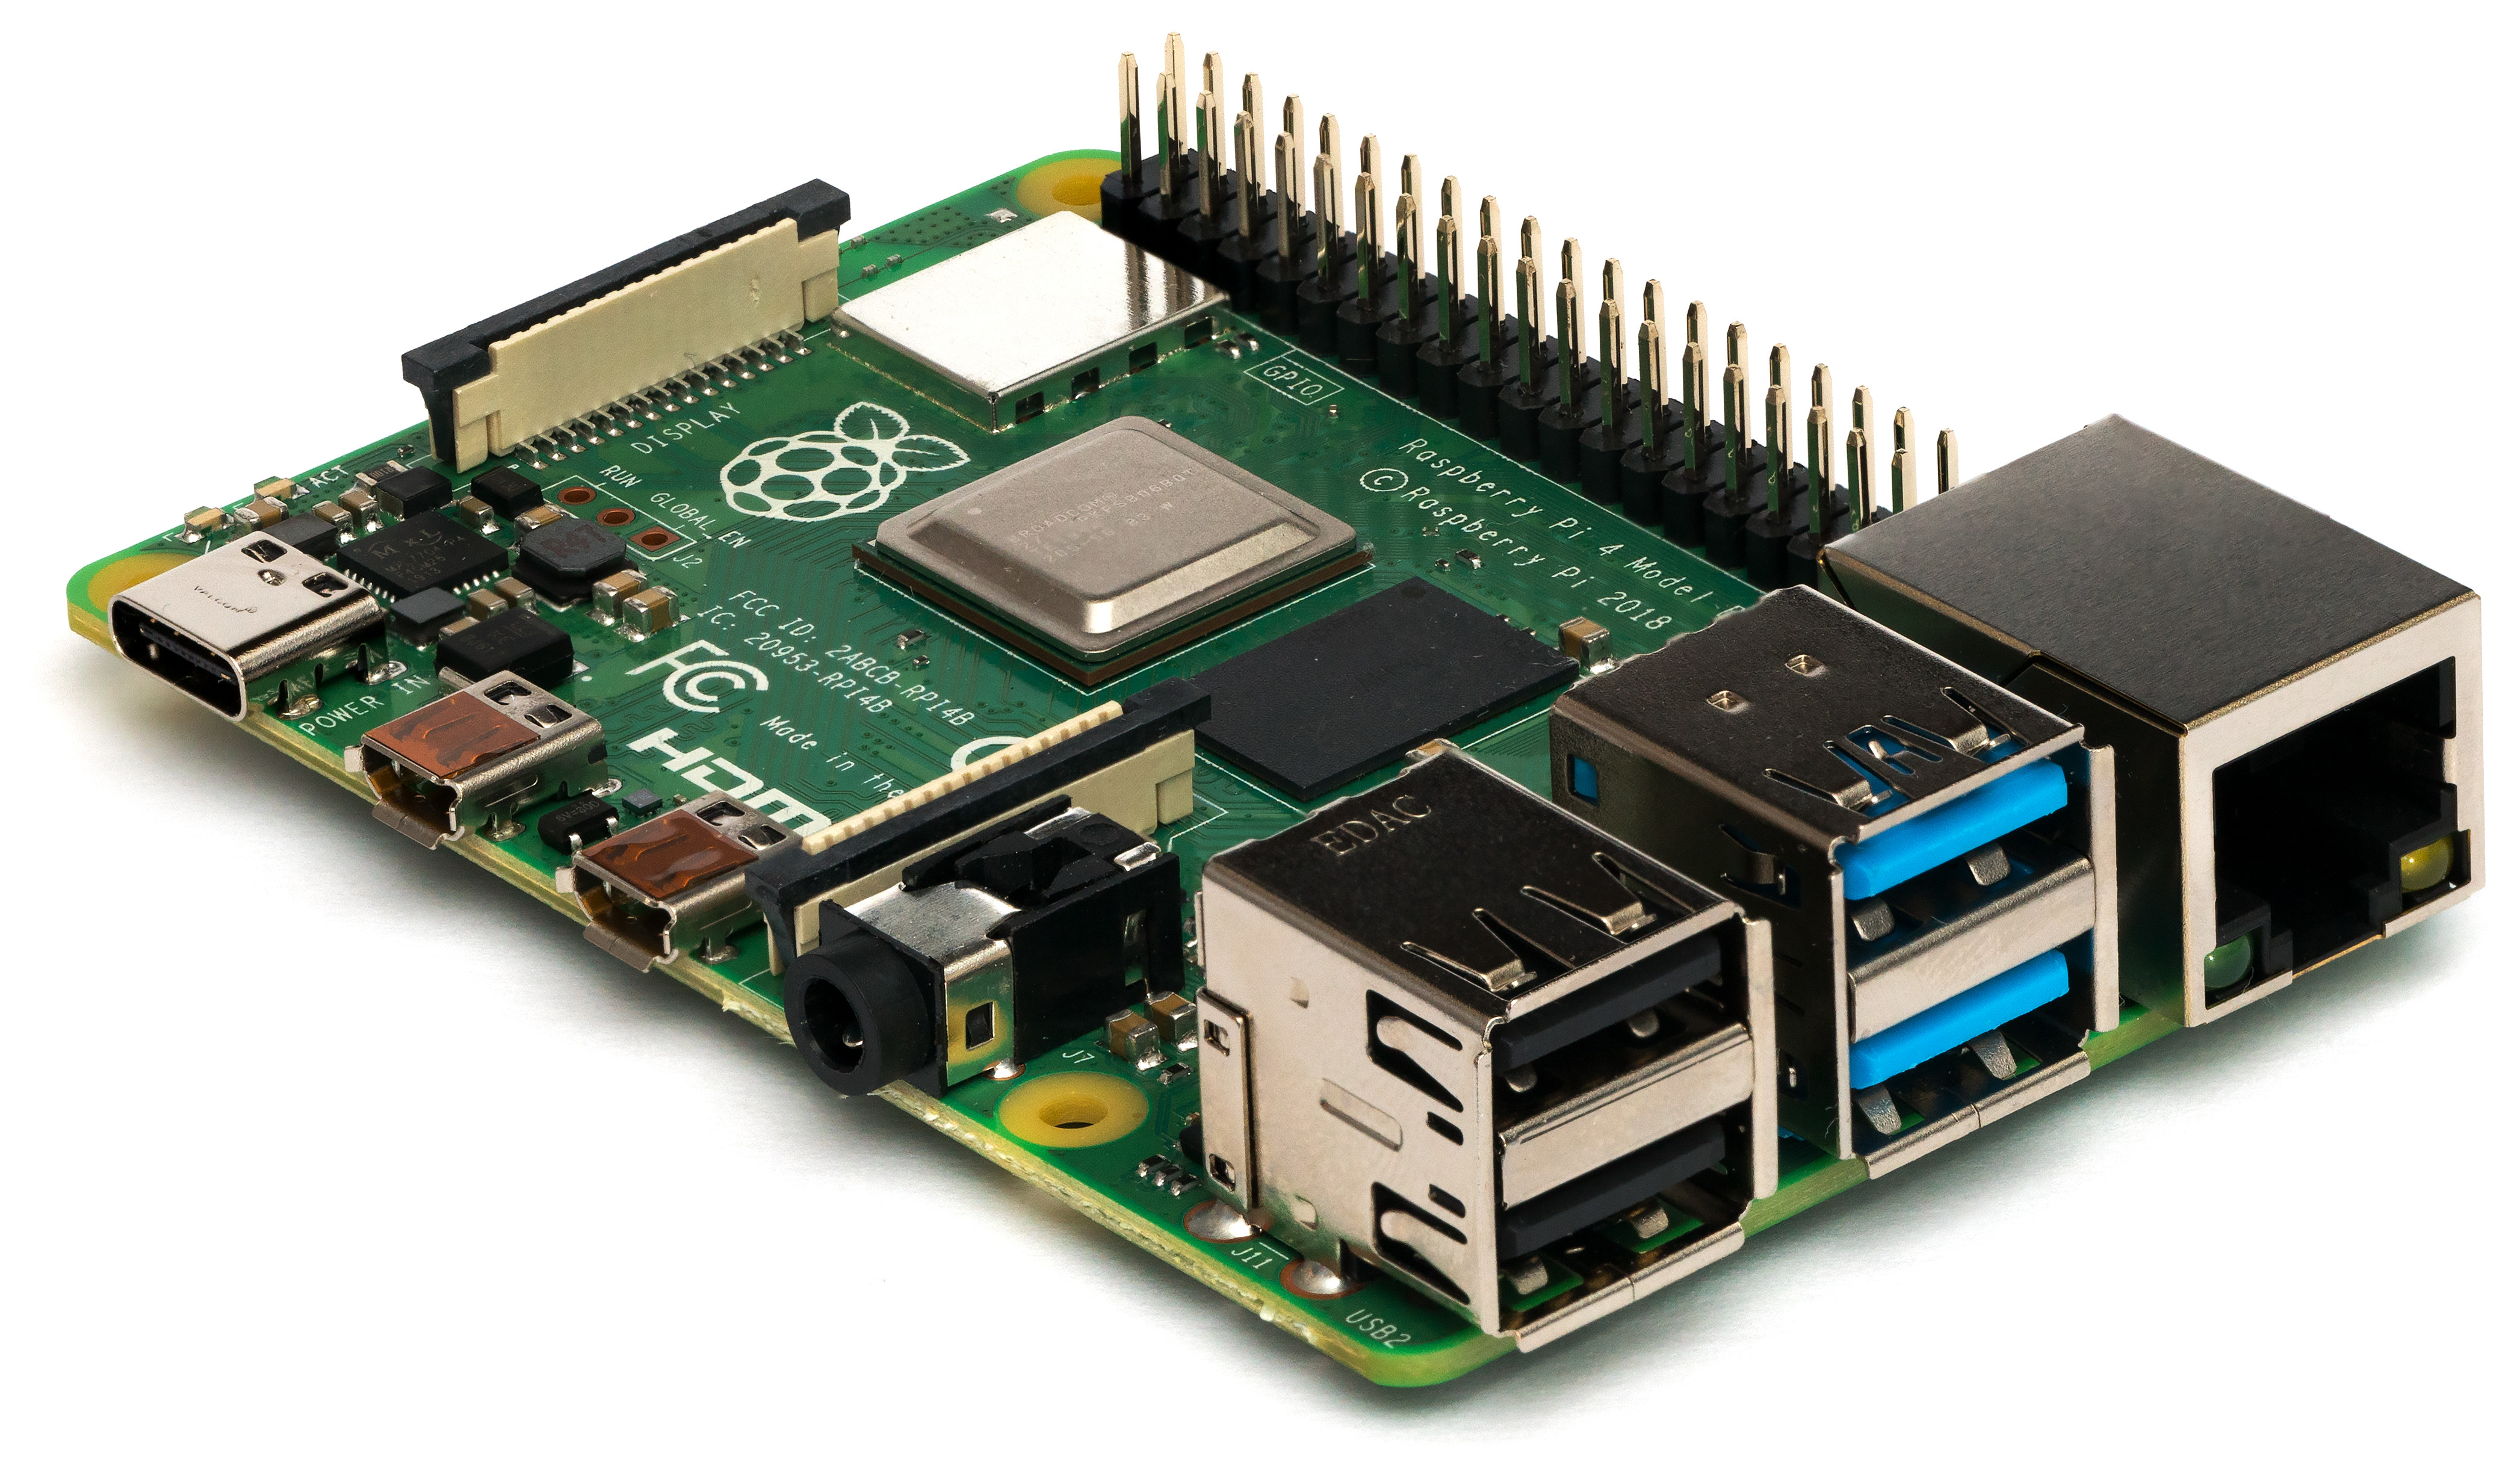
Image Credit: By Miiicihiaieil Hieinizilieir / Wikimedia Commons, CC BY-SA 4.0, https://commons.wikimedia.org/w/index.php?curid=80140656
Getting started with Raspberry Pi single-board computers (SBCs) generally means installing the Raspberry Pi OS, and interfacing with its Windows-like graphical user environment. This is all well and good, but the real power of the Raspberry Pi and other Linux-based systems is available via command line inputs using Bash.
While a bit of a learning curve, it’s not too hard once you get to know your way around; vaguely reminiscent of the MS-DOS prompt with which you may be familiar. You can of course create and delete files, along with a variety of other tasks, requiring you to remember text commands instead of going through an array of menus. It’s frustrating at first, but it’s an excellent interface once the technique is mastered.
To take things to the next level, you can even write Bash shell scripts that automate inputs, turning one command into many. These scripts can save you a lot of typing when you have to do a task over and over, and they can even be set up to automatically execute at different times.
The Basics
To create your first script in the Raspberry Pi Bash Shell environment, enter sudo nano hello-shell.sh in your home directory. In the text editor, enter #!/bin/sh on the first line, which is known as the “shebang.” This tells the script how to execute commands, but for now just accept that this exact line will be at the top of each script that you write.
On the second line, enter echo “Hello world!”, then close out the text editor with Ctrl+x, then y, and Enter to save the file. With that closed, enter sh hello-shell.sh to see the words “Hello world!” pop up on your screen like magic. You can also run your script with ./hello-shell.sh if you’re working in the same directory as the file, but you’ll need to run sudo chmod +x hello-shell.sh beforehand to make it executable by itself.
More Examples
Besides simply giving you a greeting, Bash scripting is great for task automation. Take this script for example:
#!/bin/bash
echo “shell script”
ls -l
echo “pausing for 5 seconds”
# this is a comment
sleep 5
ls -a
After the shebang, the script outputs that it’s a shell script with the echo command, then executes the command ls -l to show the files in the directory with quite a bit of detail. It then states that it’s pausing for 5 seconds—actually pauses for 5 seconds—then lists the files in the directory without as much detail, but including hidden files. Note the # this is a comment line. “#” symbols are used to start comment lines in Bash, except in the first line where they take care of the shebang.

How about using variables, or even math? Bash is capable of this, and much more. Consider this script, heavily modified from the first script on this page of Kansas State University's BASH documentation:
#!/bin/bash
echo “math and variables”
n=6/3
echo $n
n=$((6/3))
echo $n
k=$((n/3))
echo $k
As shown below, the script first says “math and variables.” It then echoes that n is literally “6/3,” as it’s handled as a string. In fact you could put in “n=6/3hello” and it would output that as well. Once you put in $((6/3)), however, it’s evaluated as the integer 2, which can then be used to calculate k. Note that k is an integer, resulting from 2/3, which is simply 0.

If you try to input the original K State code (5.9.1), you’ll notice that it doesn’t actually run on the Raspberry Pi. Unfortunately, all versions of Bash don’t handle inputs the same way. I used info found here to get things working correctly, and you may have to poke around for a bit if you’re trying to duplicate a non Pi-specific script.
Potential hassles aside, Bash can be a very powerful tool, letting you automate a wide variety of tasks. In an upcoming post, I’ll show how I used a Bash script, along with a few hardware tricks, to automate my Raspberry Pi cooling fan.
Jeremy S. Cook is a freelance tech journalist and engineering consultant with over 10 years of factory automation experience. An avid maker and experimenter, you can follow him on Twitter [https://twitter.com/JeremySCook], or see his electromechanical exploits on the Jeremy S. Cook YouTube Channel! [https://www.youtube.com/c/jeremyscook]


