
For the Professional Maker: Hands-on with the Pixy2 vision system
June 15, 2018
Blog

While you undoubtedly have some familiarity with computer vision, normally these systems come packaged as either an expensive industrial setup.
While you undoubtedly have some familiarity with computer vision (CV), normally these systems come packaged as either an expensive industrial setup, or as something powered by your phone or an actual computer – not something that’s set up for experimentation with small robots and boards made by the likes of Arduino, Raspberry Pi, and BeagleBoard.
Pixy, the result of a collaboration between Carnegie Melon Robotics Institute and Charmed Labs, changed this in 2014 as a vision system bridging the gap between those two worlds. The originals can still be purchased for around $70, but as of late May 2018, they debuted a new device, that’s “smaller, faster, and [surprisingly] lower cost.” The aptly-named Pixy2 still tracks differently-colored objects, but ads line-following algorithms, and can even interpret simple bar codes. It also features a pair of LEDs to illuminate where it’s looking.
Setup
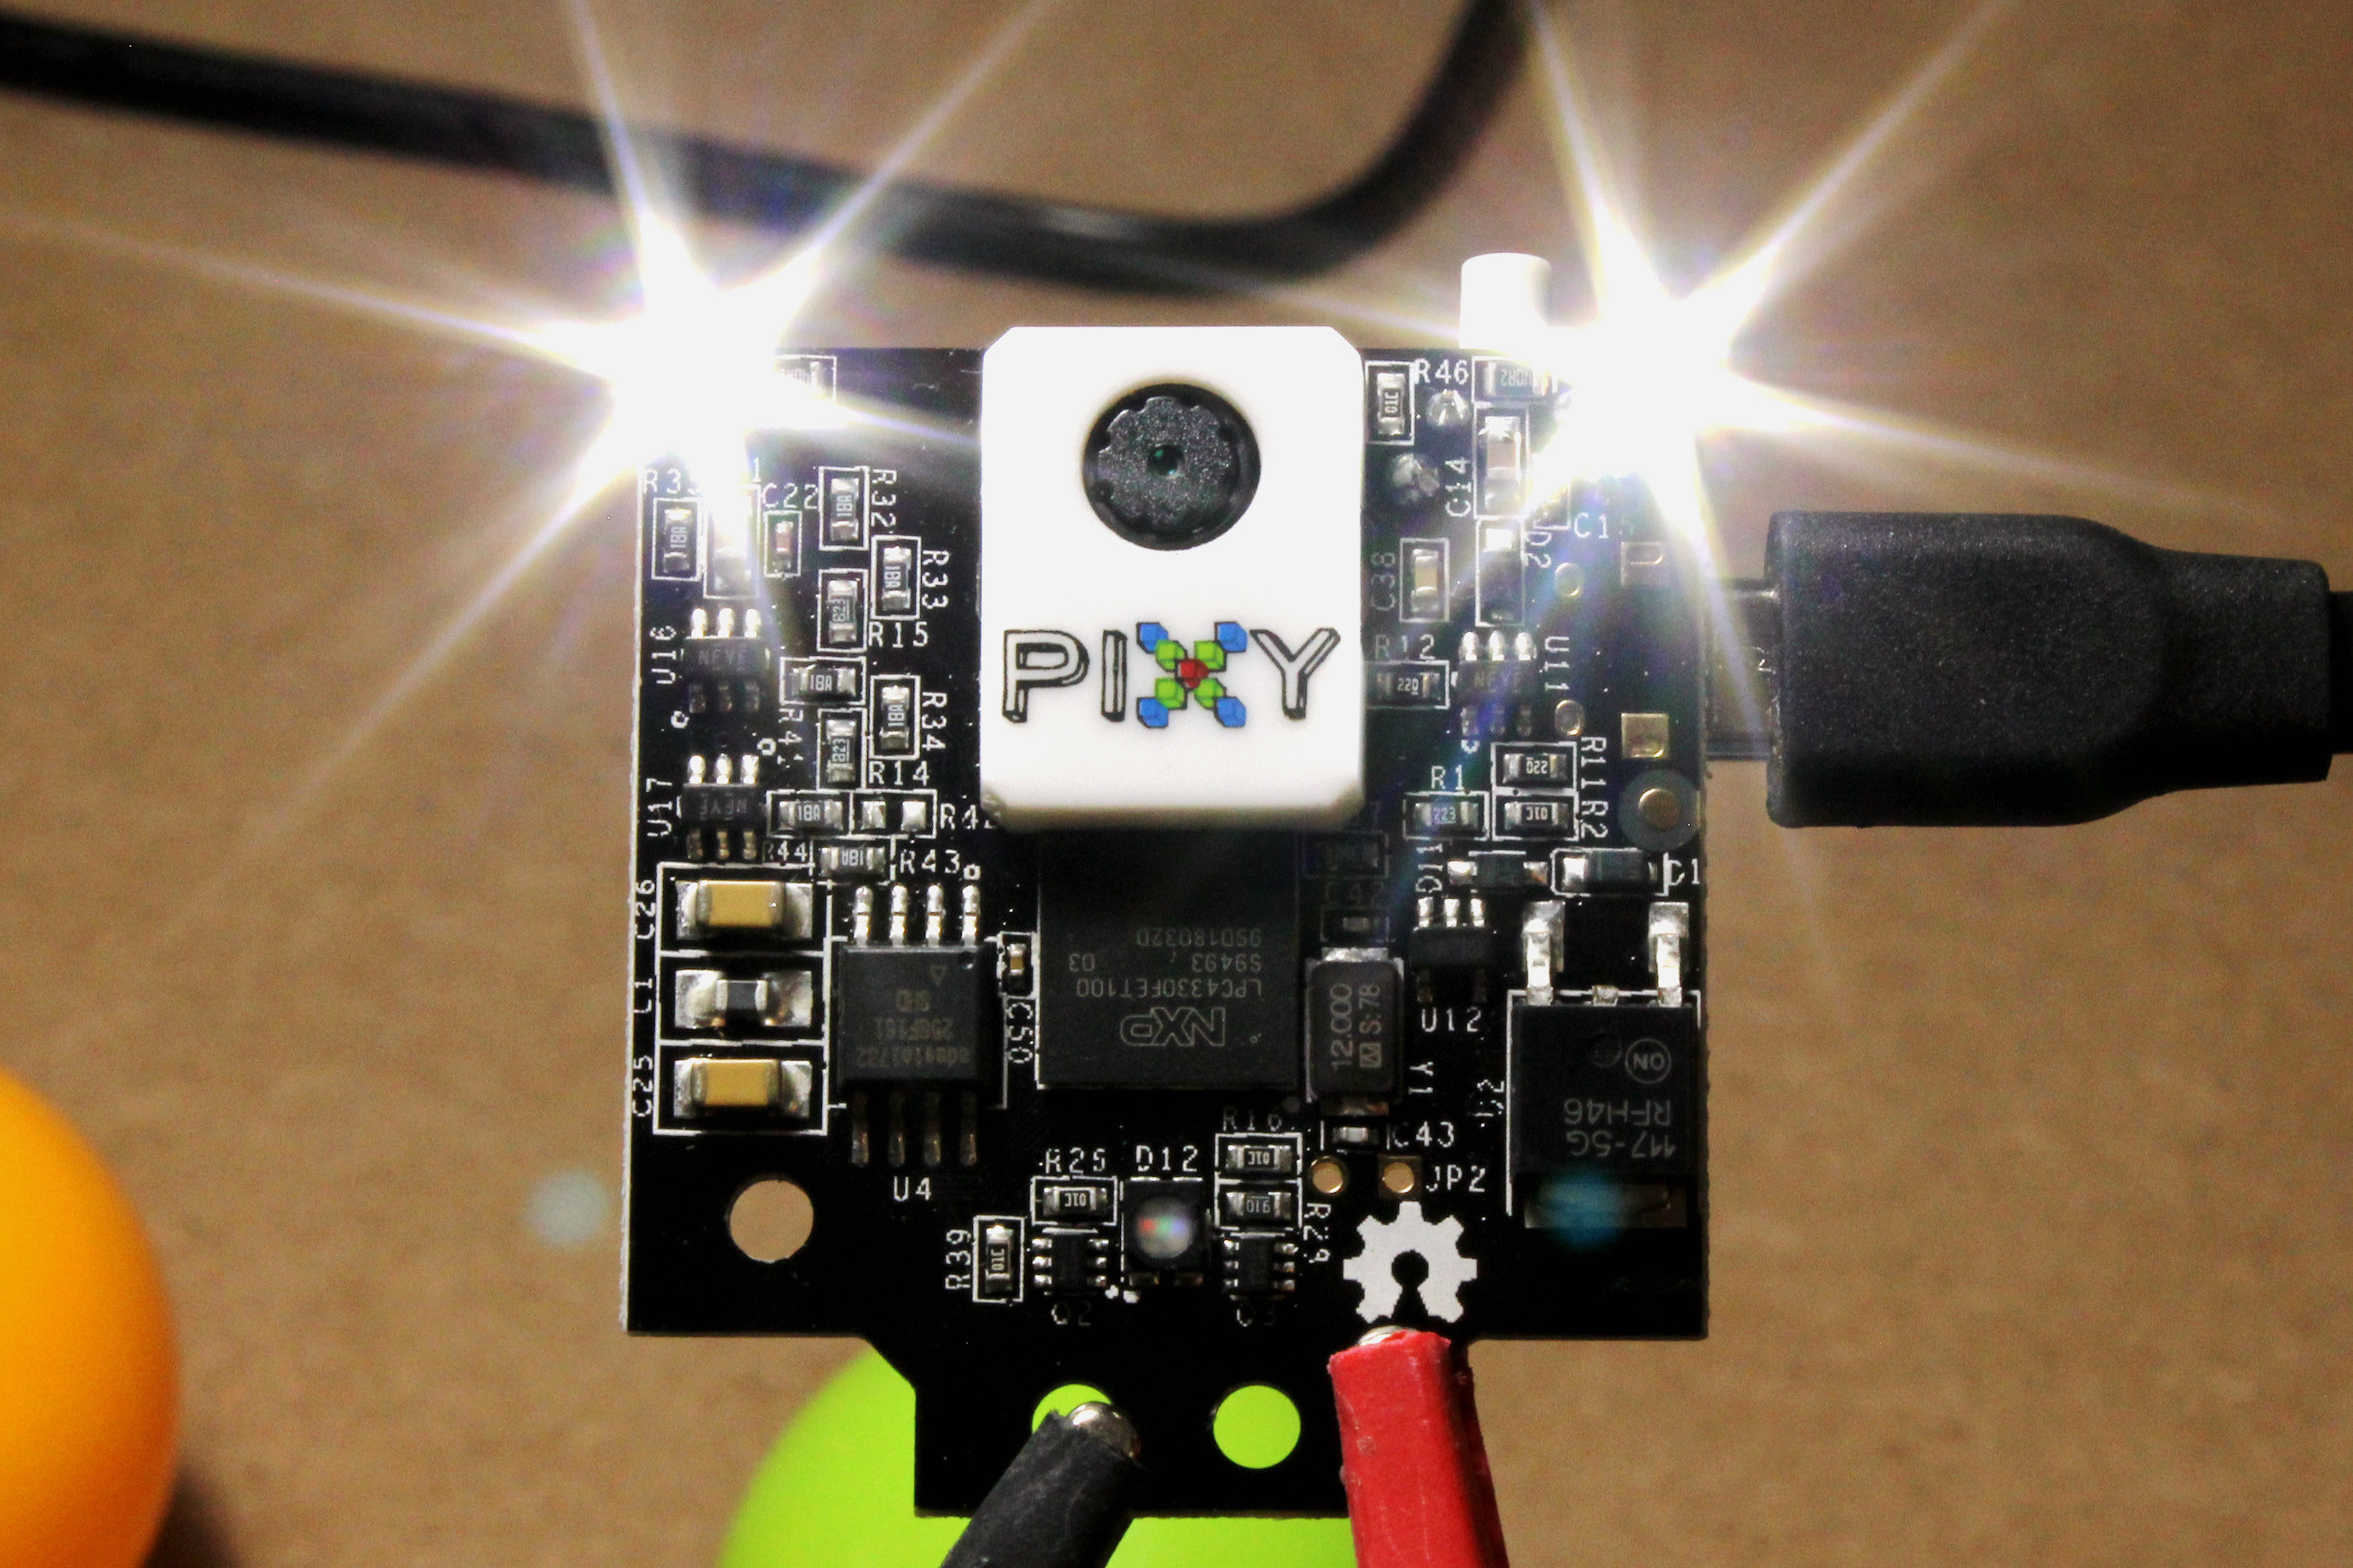
Charmed Labs was nice enough to send me one of these units to try out, and while I didn’t experiment with its line-following capabilities, I did set it up to work with a computer as well as an Arduino Uno to track a pair of colored balls. My experience with vision systems has been in industry, and while Pixy2 isn’t intended for that environment, it is much easier to set up that what I’ve worked with previously. To be fair, those systems could do many more tasks than the Pixy2, but were also orders of magnitude more expensive.
Getting it to work was a matter of installing the PixyMon software found here, and after it and the drivers were installed, the camera displayed a live image. My first attempt at teaching objects, held in place above a cluttered desk was less than successful, but after placing it on a relatively homogeneous surface (and realizing that you had to highlight only inside of your object, not encircle it including some background), it did a great job of tracking each object as they rolled around my desk. It can also be taught using a single button interface, though if you have a computer handy, this seems to be the way to go.

When it came time to use it with an Arduino Uno, setup was extremely simple. An included cable connects the device from the camera to the Arduino’s ICSP pins, and the needed library is found in these more complete instructions. Once the library is installed, you can then load the “cc_hello_world” sketch from the libraries examples. This will then output data on the taught objects in view via the USB to serial interface. Of course, this is just a starting point, and I’m really looking forward to fiddling with this gadget more!
Open source
As neat as this is to experiment with, what if you want to use this or something similar in a project that’s meant not just for you, but as a part of a product for the masses, or at least a healthy niche? The good news is that Pixy2 features open source software and hardware, so you’re free to be inspired by or even use its designs as a part of your own gadget. You will need to adhere to license terms outlined here, but you can contact them if you need other licensing arrangements.
Companies featuring their technology today include IR-LOCK, which uses a camera with modified software to help with precision UAV landings, as well as mindsensors.com, as a part of their educational robotics systems. If that inspires you to take your DIY project to the next level, perhaps you’ll be part of the growing list of companies taking advantage of this versatile vision system!


