For the Professional Maker: Control devices and communicate with the I?C bus specification
October 04, 2017

One of the most popular protocols for facilitating integrated circuit communication is I2C. Since October 2006, no licensing fees are needed for implementation of the protocol.
For simple electronics projects, controlling devices with a discreet on or off signal from you chosen development board works quite well. One output controls an LED, solenoid, or other device, and button or switch inputs work similarly as inputs. This, however, doesn’t really work if you’re dealing with more complicated devices that have their own microprocessor. To get everything to play nicely together, you need some sort of protocol.
One of the most popular of these for facilitating integrated circuit communication was invented by Philips Semiconductor, now NXP Semiconductors in 1982, known as Inter-Integrated Circuit, abbreviated I²C or simply I2C. Making this standard even more appealing is that since October 2006, no licensing fees are needed for implementation of the protocol.

I2C systems normally run at 100 kHz and communication generally takes place at a distance of a few meters or less. While it’s not a viable long-range communication standard, this can be very useful for robots and electronic systems that require short-range internal communications. The system uses four wires for communication, a clock (SCL) and data (SDA) line, as well as ground and power.
The master device generates the SCL signal and sends commands to slave devices (which all must have unique addresses) to either read from or write to a certain register address. For more information, NXP’s official manual can be found here. For a shorter explanation of how the protocol works, this I2C Bus tutorial by Robot Electronics gives an excellent abbreviated, though still sufficiently technical, run down on the system.
While a robust communications protocol is interesting, what does that mean in practical terms for Makers or MakerPros? Here are a few examples of how it can be used:
BlinkM I2C LED
As printing out “Hello world” is widely considered the first step in learning a computer programming language, making an LED blink is the equivalent in the microcontroller world. Once you’re ready to step into using I2C for control, the BlinkM module can do exactly that, plus change colors as needed. Additionally, multiples of these LEDs can be chained together, and they can even be programmed to light up independently if needed. So perhaps these are a bit more capable than a blinking LED module, but these devices would be a great place to start.
I2C Servo/PWM Driver
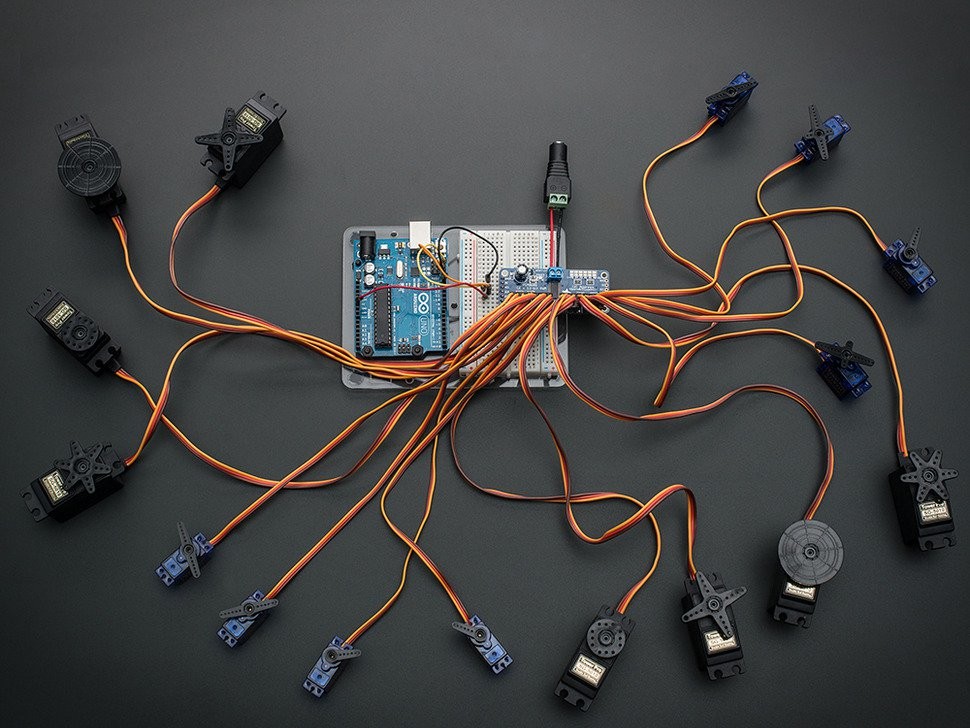
[Image via Adafruit]
Like discreet LEDs, servos are easy to drive with a development board like an Arduino Uno when you have one or two, but as you add on more and more, you’ll need a solution to get around the limited number of PWM pins and processor bandwidth. As a solution, Adafruit offers this 16-Channel PWM driver with a handy I2C interface. Just send it the required information and it takes care of holding the servo in the correct position. It can control any PWM output as needed using these same pins, perhaps dimming LEDs as needed. Even better, you can in theory chain up to 62 of these boards together for a practically unlimited number—992 if you’re counting—of outputs.
Nintendo Wii Nunchuck
For control of your latest robot, you could come up with a custom array of buttons and switches, but why not just use something off the shelf? Lots of options exist, but one very popular interface device is the Nintendo Wii Nunchuck which works via an I2C bus—or TWI, Two Wire Interface, which is essentially just another name for this system. Naturally, there is some setup involved in order to use this device with an Arduino or similar, so in the next post I’m going to set up one of these devices, or more accurately, a knockoff that can be had for less than $5.
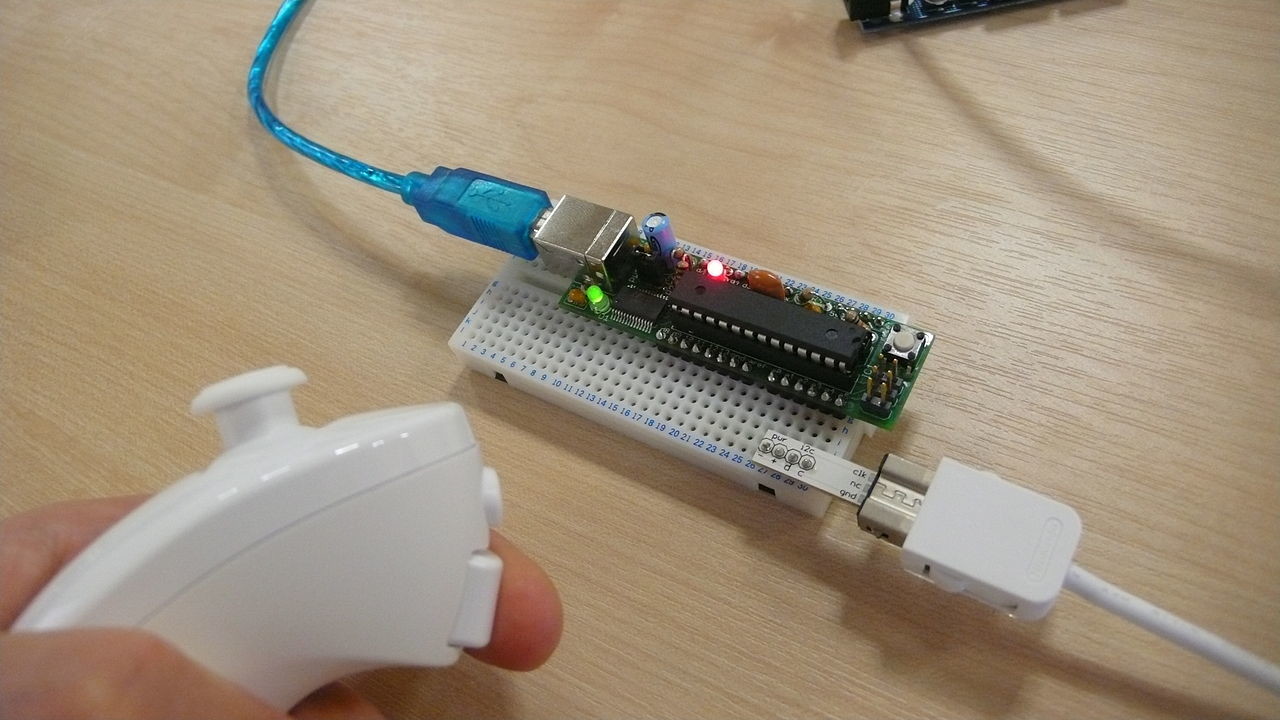
[Image by Ben Dalton via Wikimedia Commons, CCA-SA]
I’m looking forward to exploring this interesting and very cost-effective control method. Be sure to check back to see how things progress!