For the Professional Maker: Rocket launcher Strandbeest
June 28, 2018
Blog

As I write this, the Fourth of July is coming up, a time when Americans are encouraged to light and observe pyrotechnic devices in abundance.
As I write this, the Fourth of July is coming up, a time when Americans are encouraged to light and observe pyrotechnic devices in abundance. Normally you use a match to set off these minor explosives, but I instead built a partially 3D-printed Strandbeest that can walk under Bluetooth/smartphone control, then fire two bottle rockets remotely. A nice paint job and some hacking to get everything working mechanically sound took some doing, but a big challenge was figuring out the electronics and programming.
Control scheme
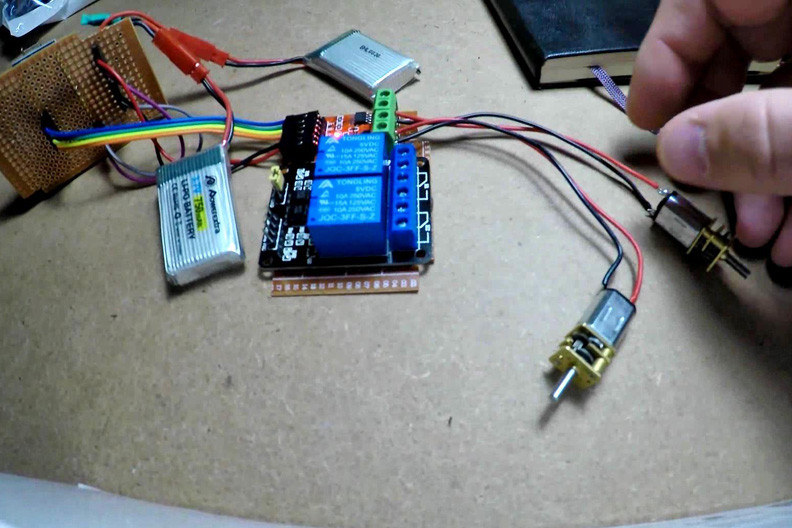
My first idea for this build was that I would use a Wemos D1 mini board, along with its motor shield and a couple of relays. While this probably could have worked, the motor shield appeared to have been shipped without firmware, and providing the proper voltage (3.3v or 5v) was going to be tricky with the two 3.7v LiPos I’d be using. In the end, I turned to what has become something of my go-to dev board for this kind of project, the Arduino Nano. Its 7-12V input voltage range matched up perfectly with the roughly 7-8v that my LiPos would put out.
Using the Nano meant that I wasn’t able to take advantage of the D1 mini’s built-in WiFi capabilities for control, so I added an HC-05 Bluetooth module. This allows me to send serial signals to the Nano from my smartphone via Arduino Bluetooth Controller from Guimig Apps. The Nano then translates these signals into the proper motor movements via a motor driver board, steering the Strandbeest like a tank. Importantly, it also can fire a pair or rockets via two relays which power and heat up thin-gauge Nitinol wire in order to ignite the fuses.
Wiring problems
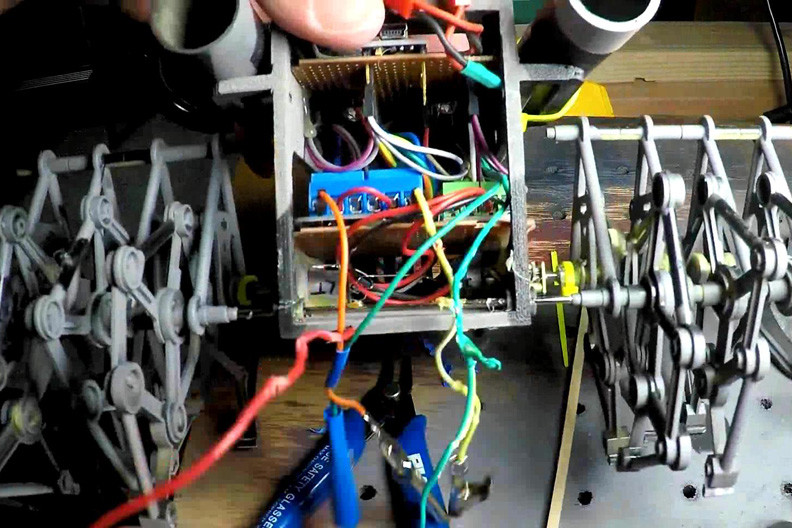
[Wiring burned after initial test.]
When I initially tested this setup, I wrapped the Nitinol wire around the fuses, which were in turn connected to the relays using alligator clips. This attachment method wasn’t particularly secure, but it seemed to be good enough at the time. I then powered on the device, which to my dismay immediately lit the fuse on one of the rockets. To my credit, the robot was pointed in a safe direction before even powering it on, but found that one of the leads was hooked up to a normally closed (NC) contact. This meant instant ignition, and my wiring was eventually burned up.
After more trial and error—and ensuring the ignition wires were wired to normally open (NO) contacts—I eventually settled on powering the Nitinol wires using an entirely separate 9V battery. This meant that if there was a problem, theoretically it wouldn’t affect the rest of the system. I also switched to lever nuts instead of alligator clips, which hold wires very securely in a wide variety of gauges. Finally, I increased the burn time to three seconds, and changed the program around so that the relay outputs on the Arduino weren’t even on until needed. Code for the contraption can be found here. It’s far from optimized, and whether it’s a good idea to build something like this anyway is an open question.
Success!
While this project had a few bumps along the way, it feels great to get a project done—if you can ever call a project like this “done.” After a month or so of hacking, I finally have my new unique object: a small walking Strandbeest that not only looks like a cross between a WWII battleship and an AT-ST from Star Wars, but can even shoot “missiles” on command!